A deep dive into film scanning. This is going to be a living document, whenever I learn something
new I will do my best to add the information here. I'll cover some how tos, but a lot of the focus
here will be on comparing different methods, tools, software, etc and seeing what works best or
what the tradeoffs are. I'll also dive into the scientific side of the optical physics involved
and what limitations that imparts. So let's get into it!
How to get Started
Under construction - honestly I'll probably just link to some good resources. There's no reason
for me to reinvent the wheel here.
The Ender of All Joy
Vlad's Test Target
You may think your scanning setup is great! If so, you probably shouldn't buy a Vlad's Test Target...
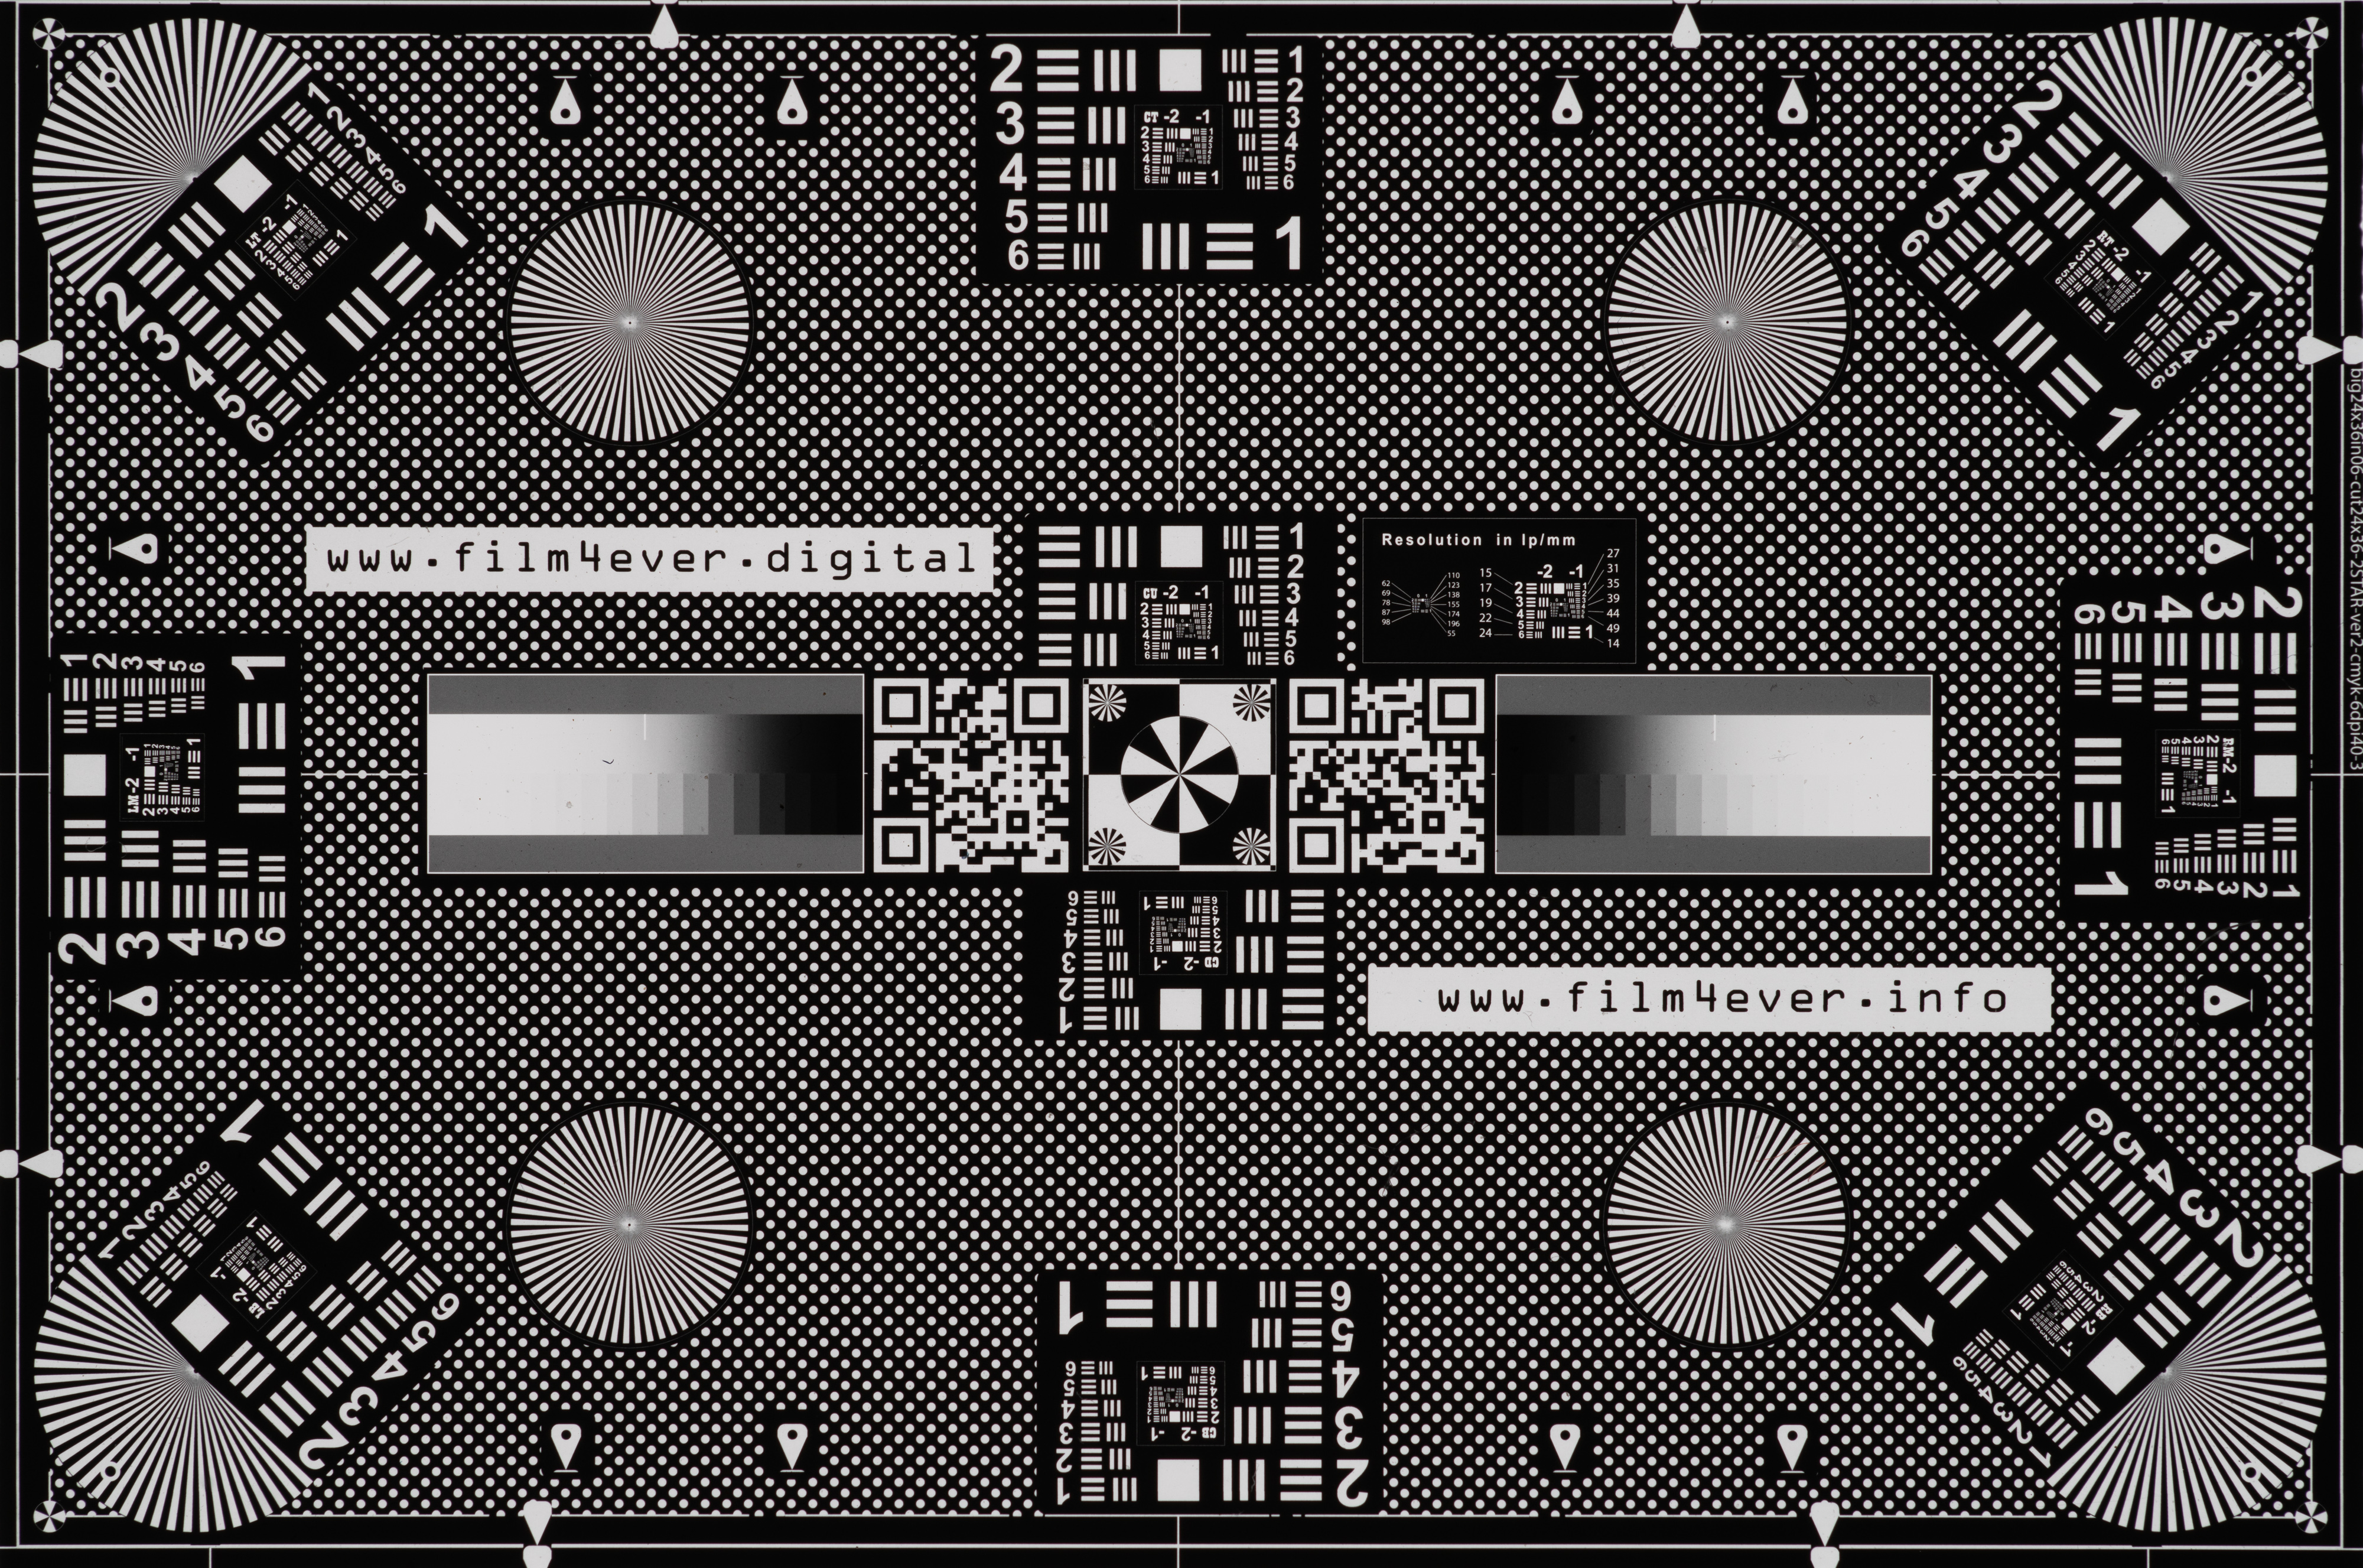
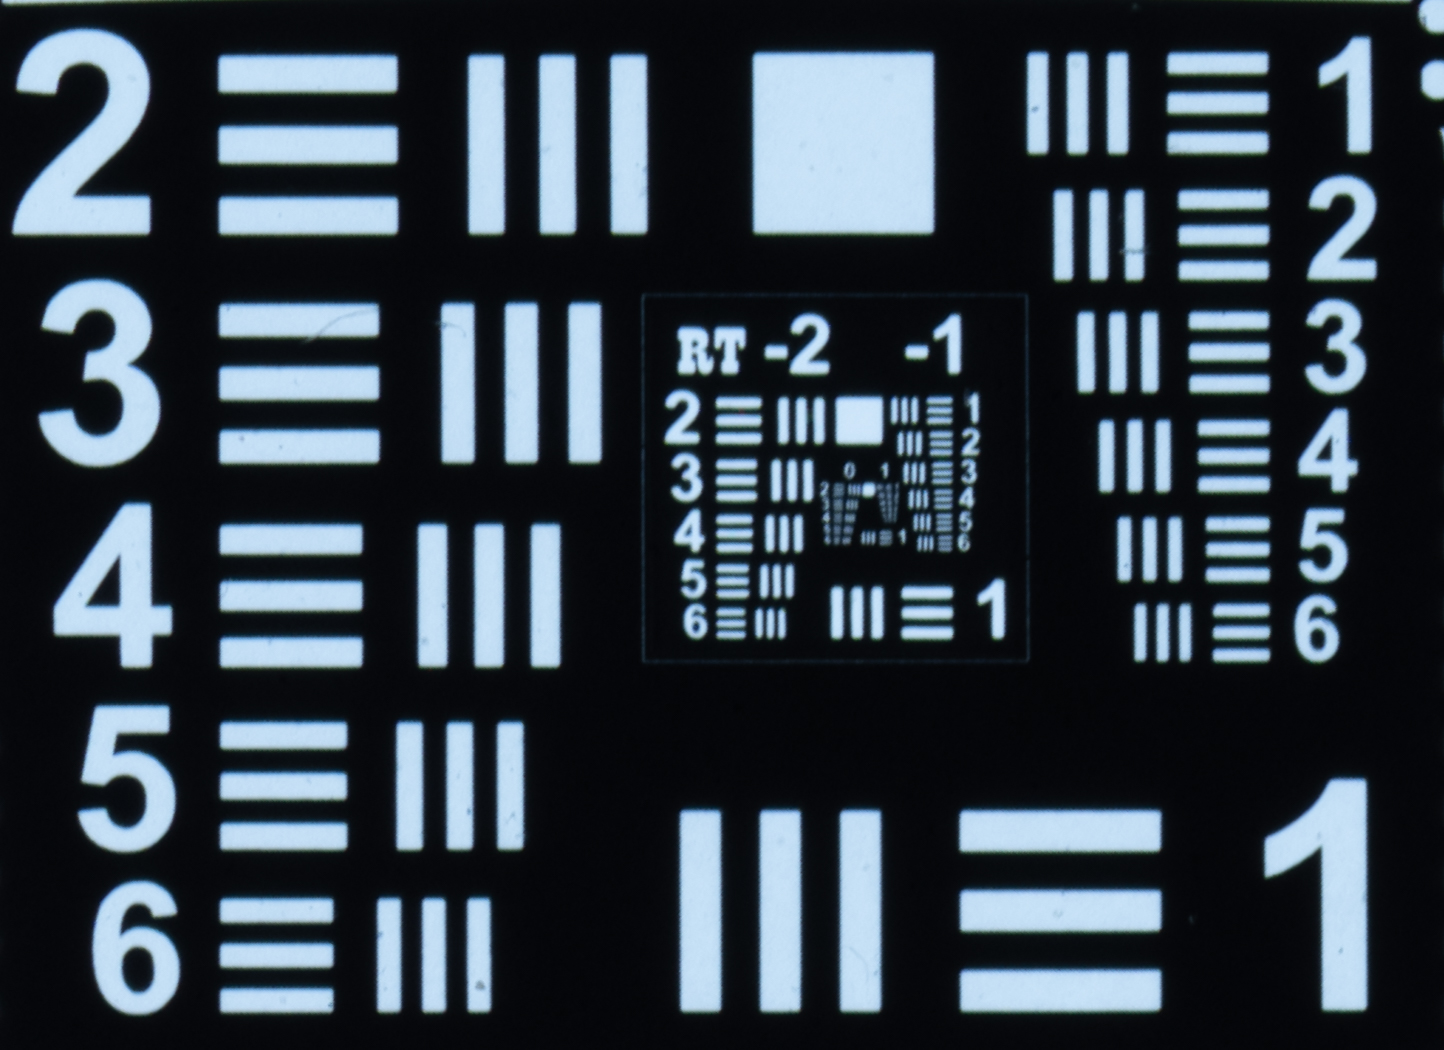
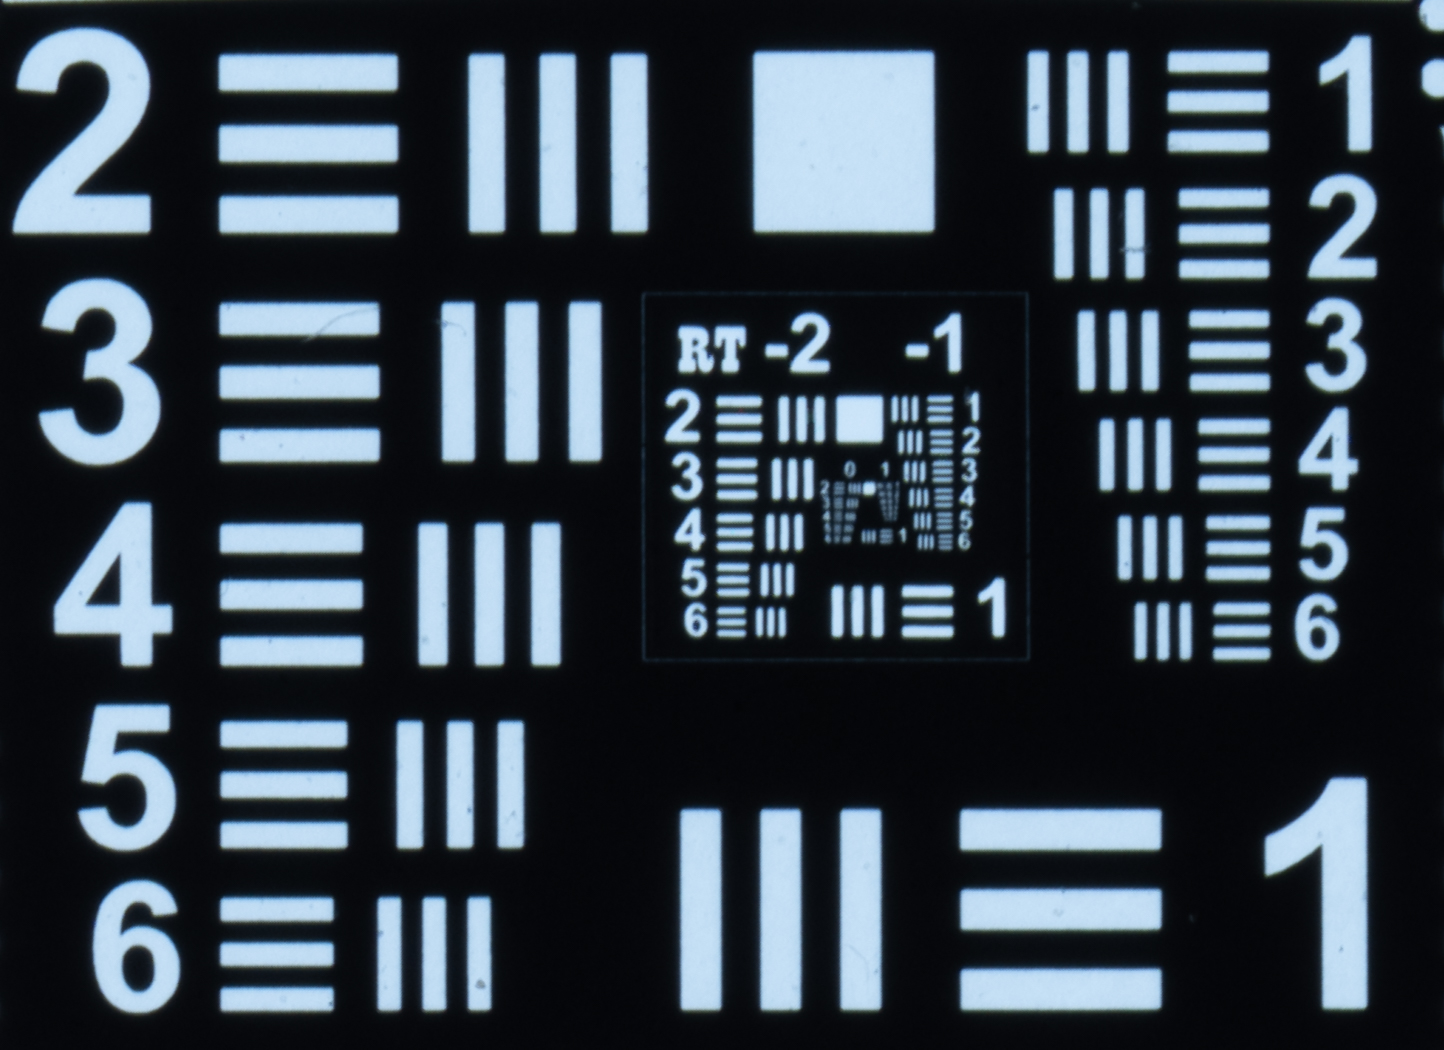
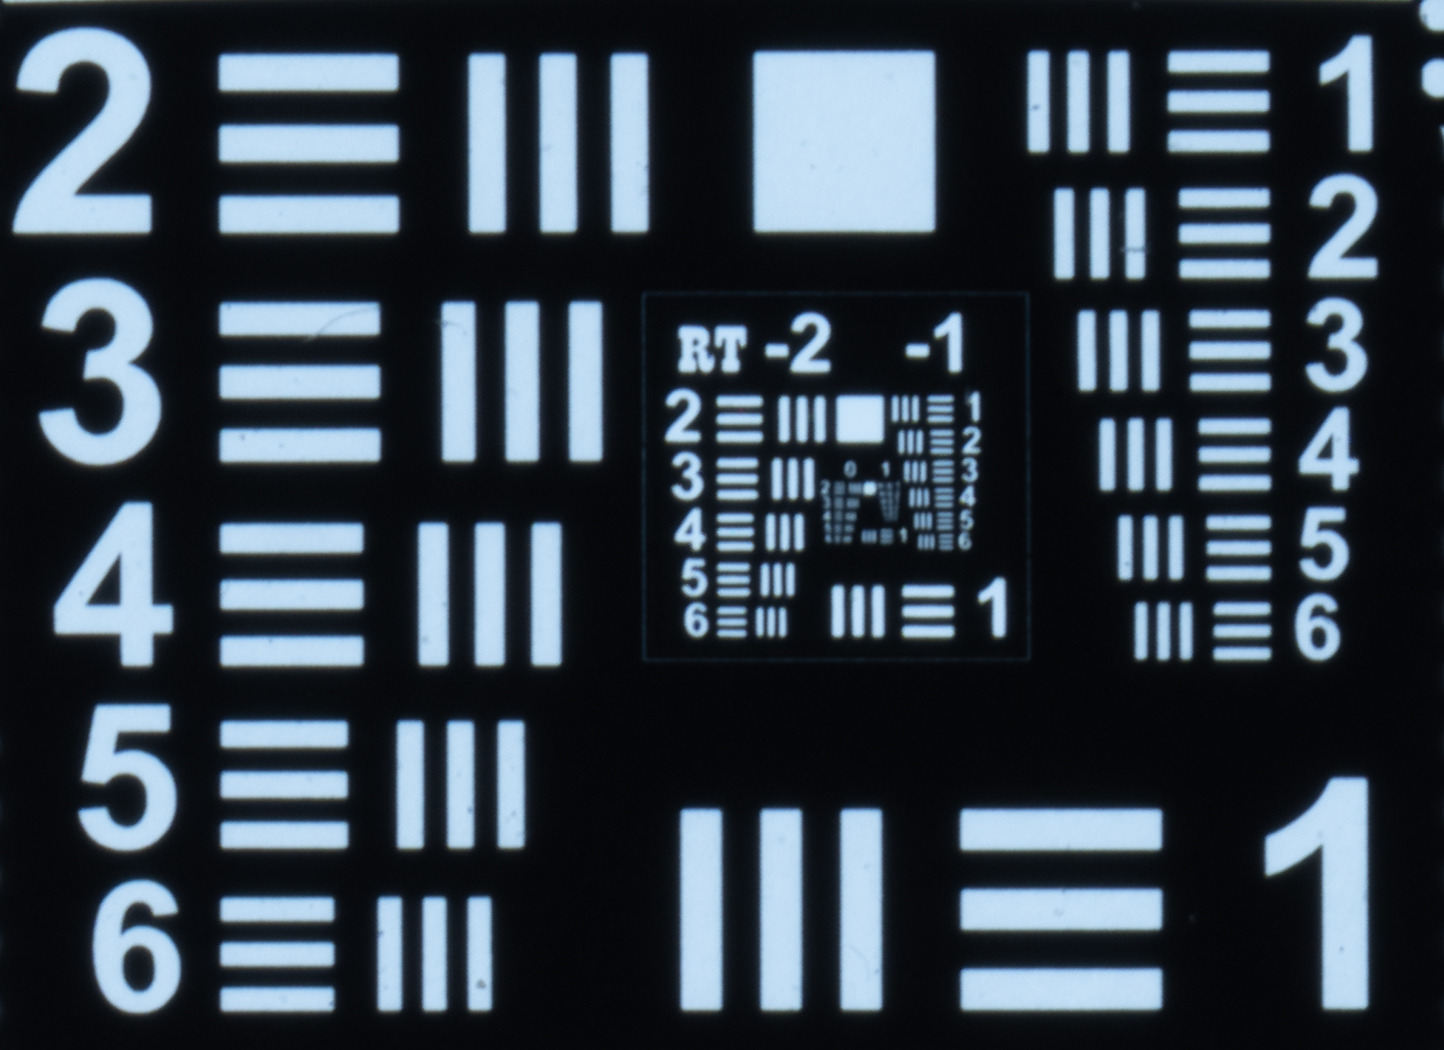
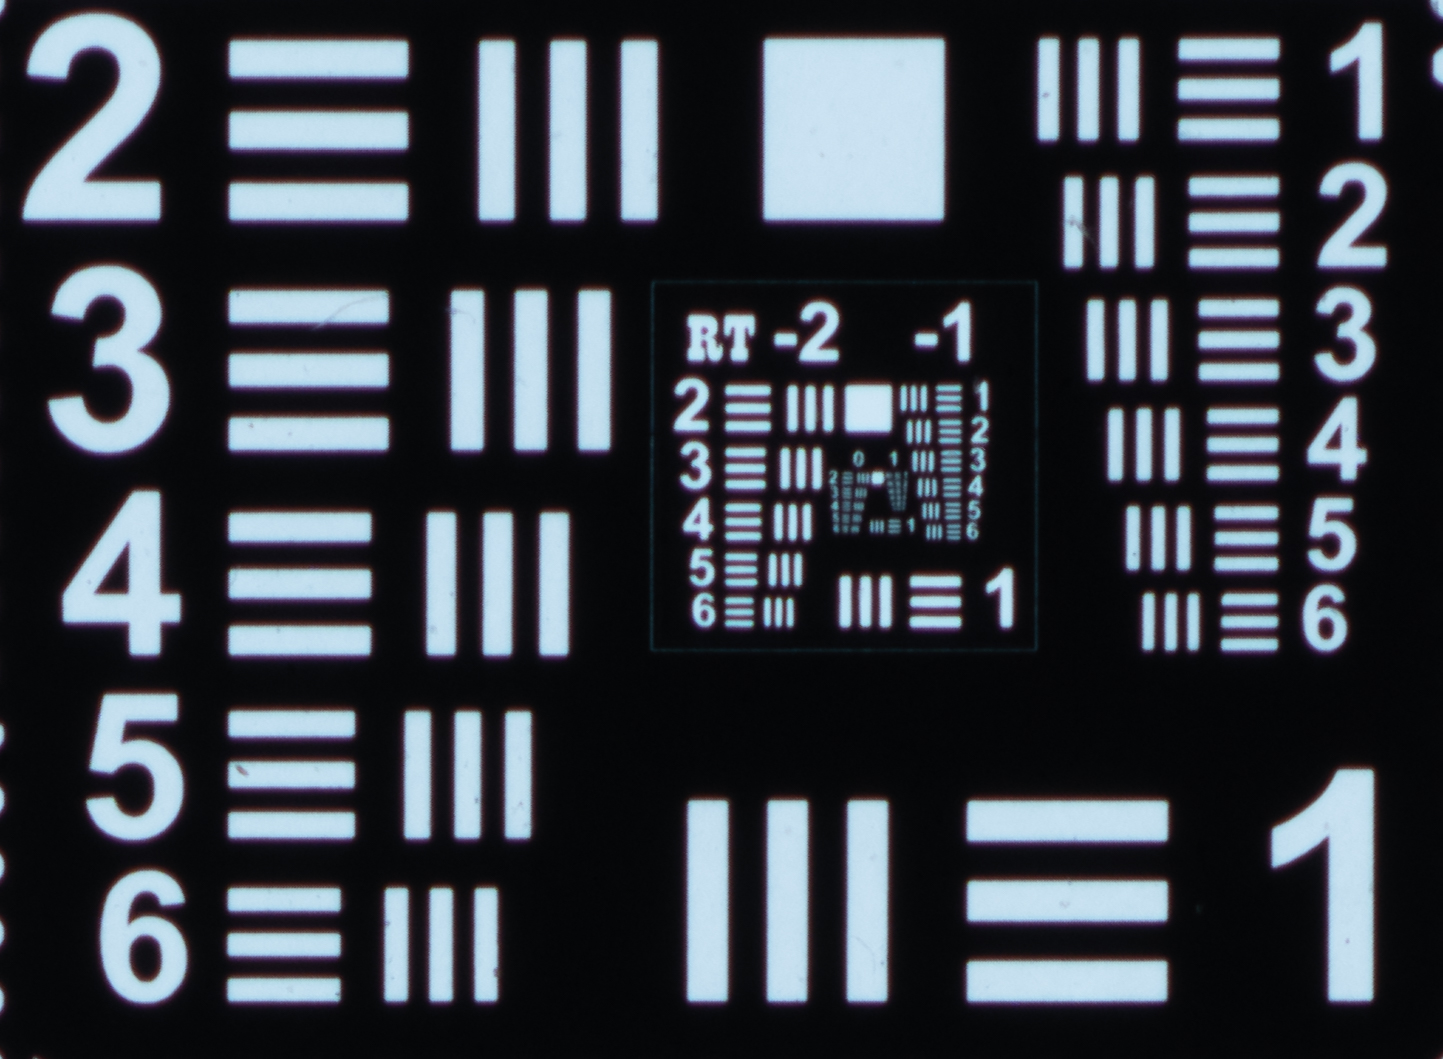
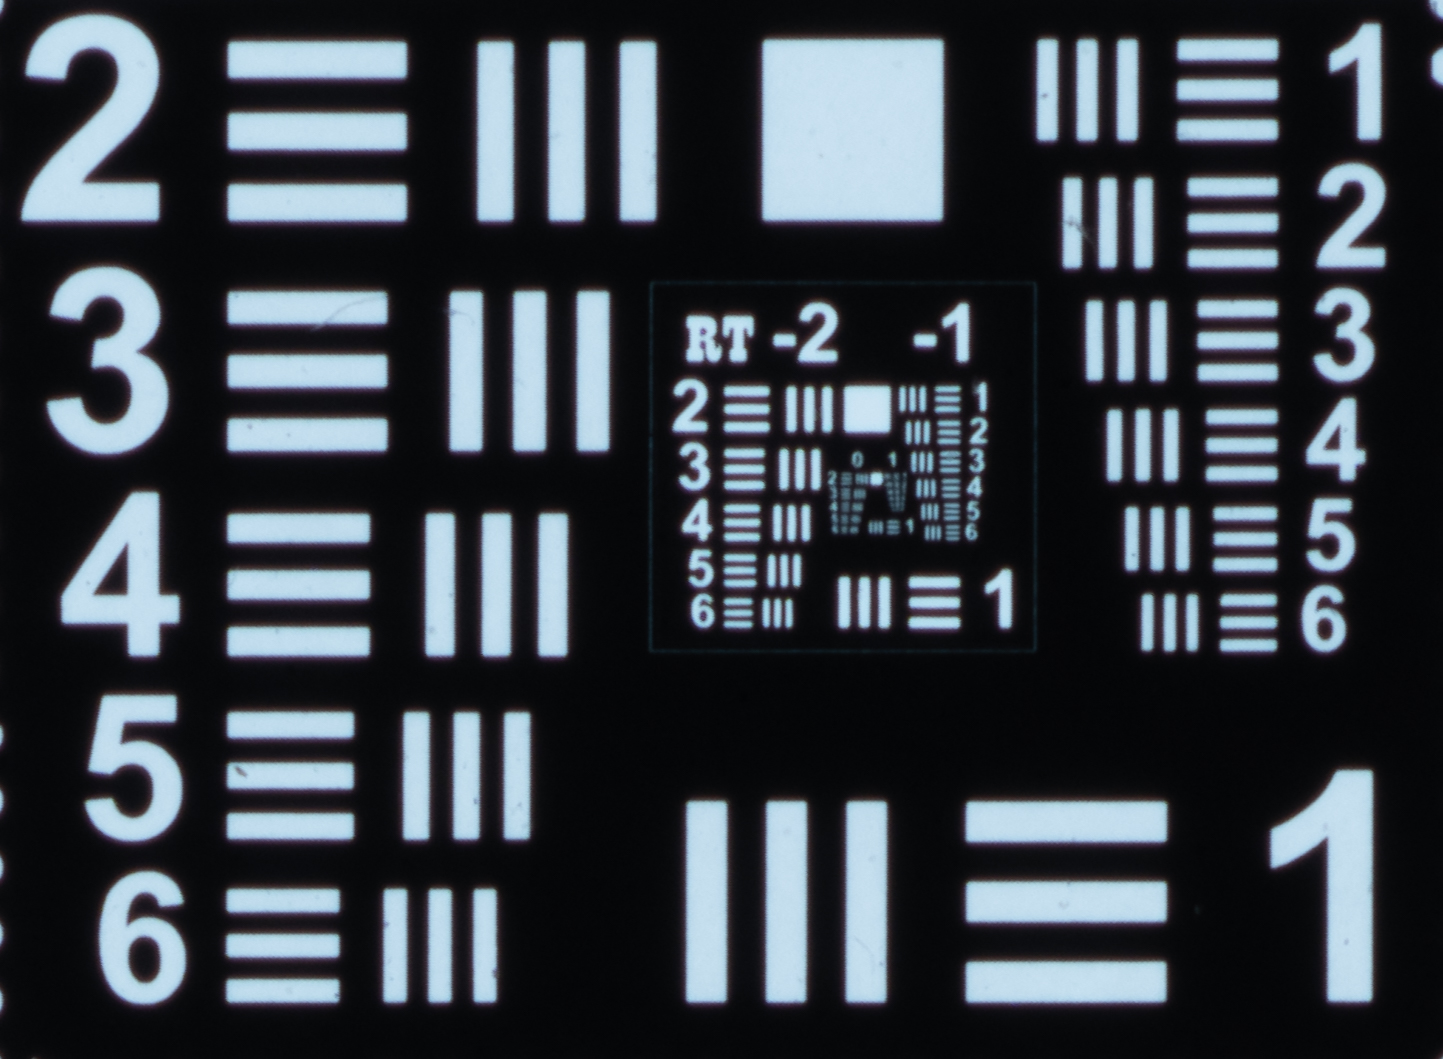
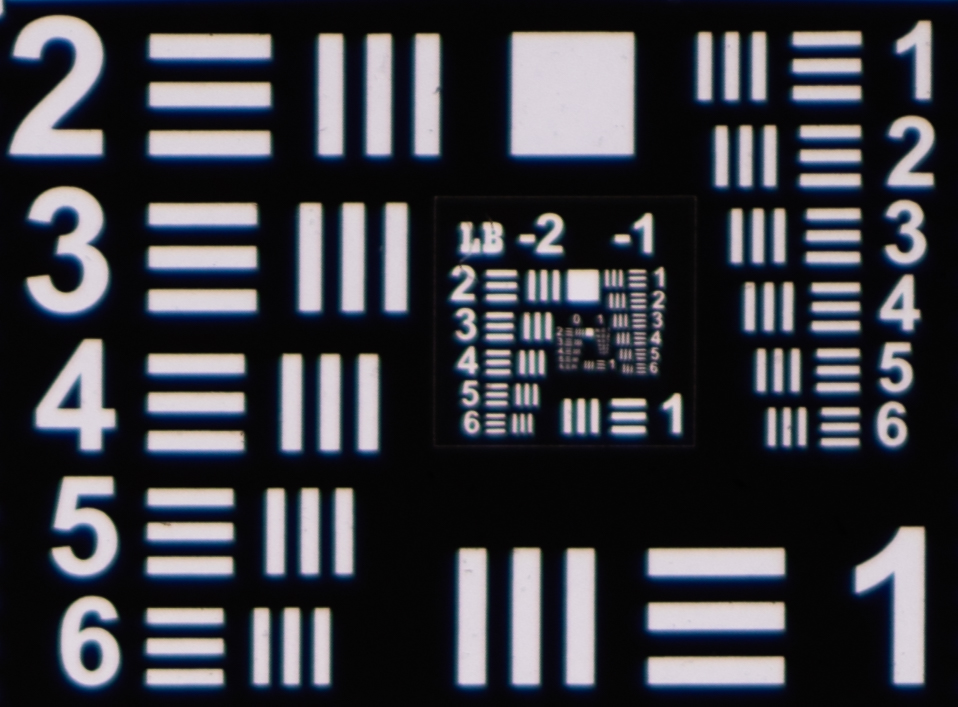
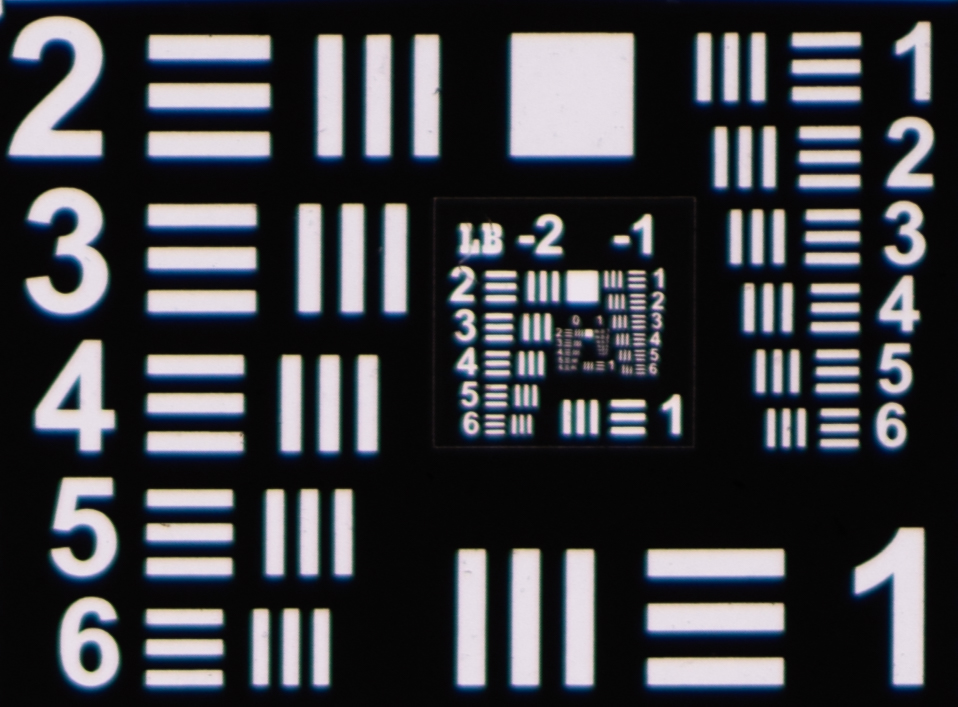
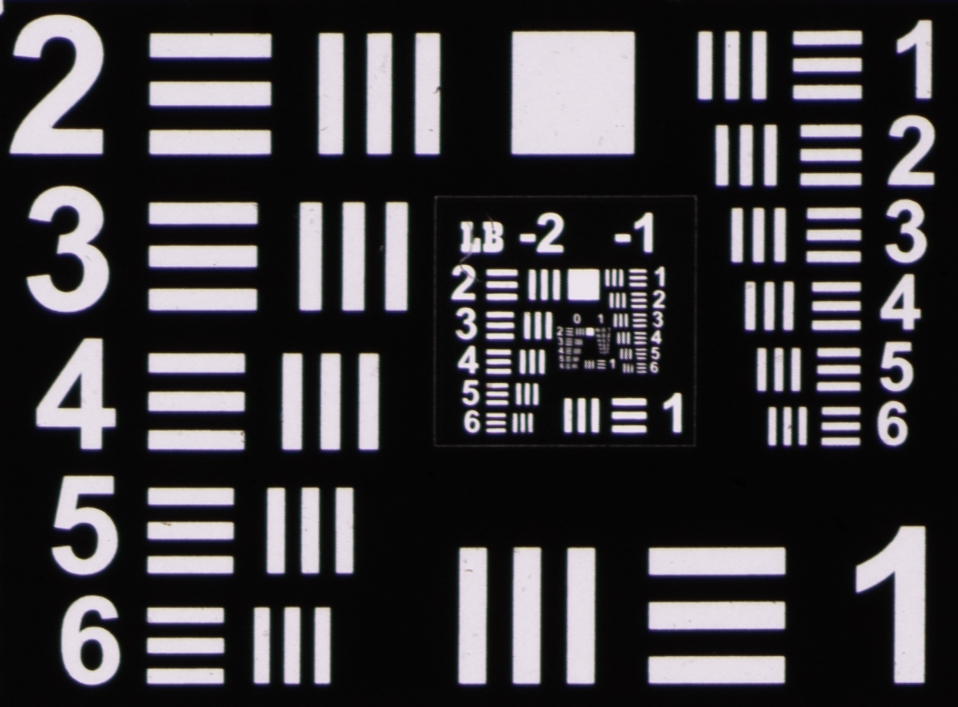
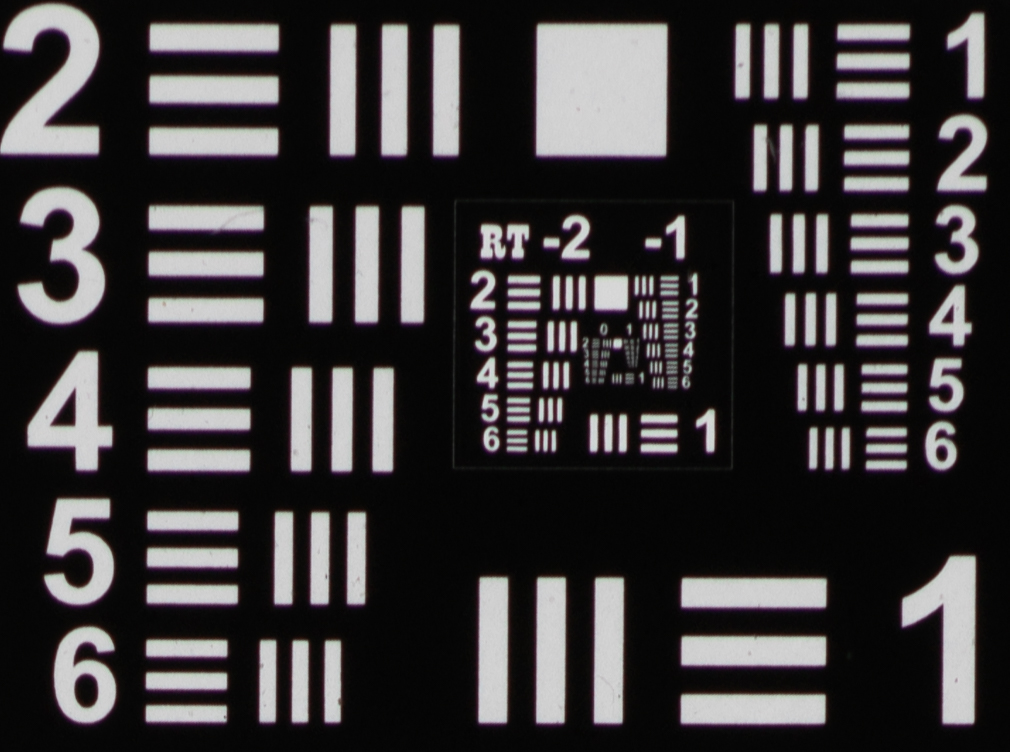
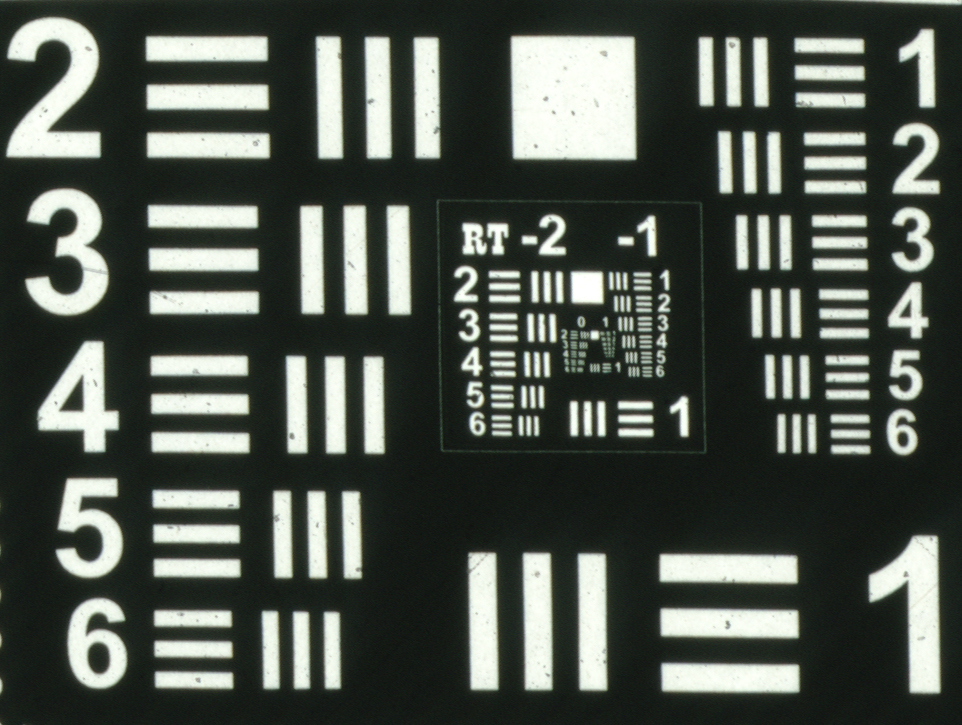
Full chart scan on Sony A7RII with Micro-Nikkor 60mm f2.8 AF-D @f8
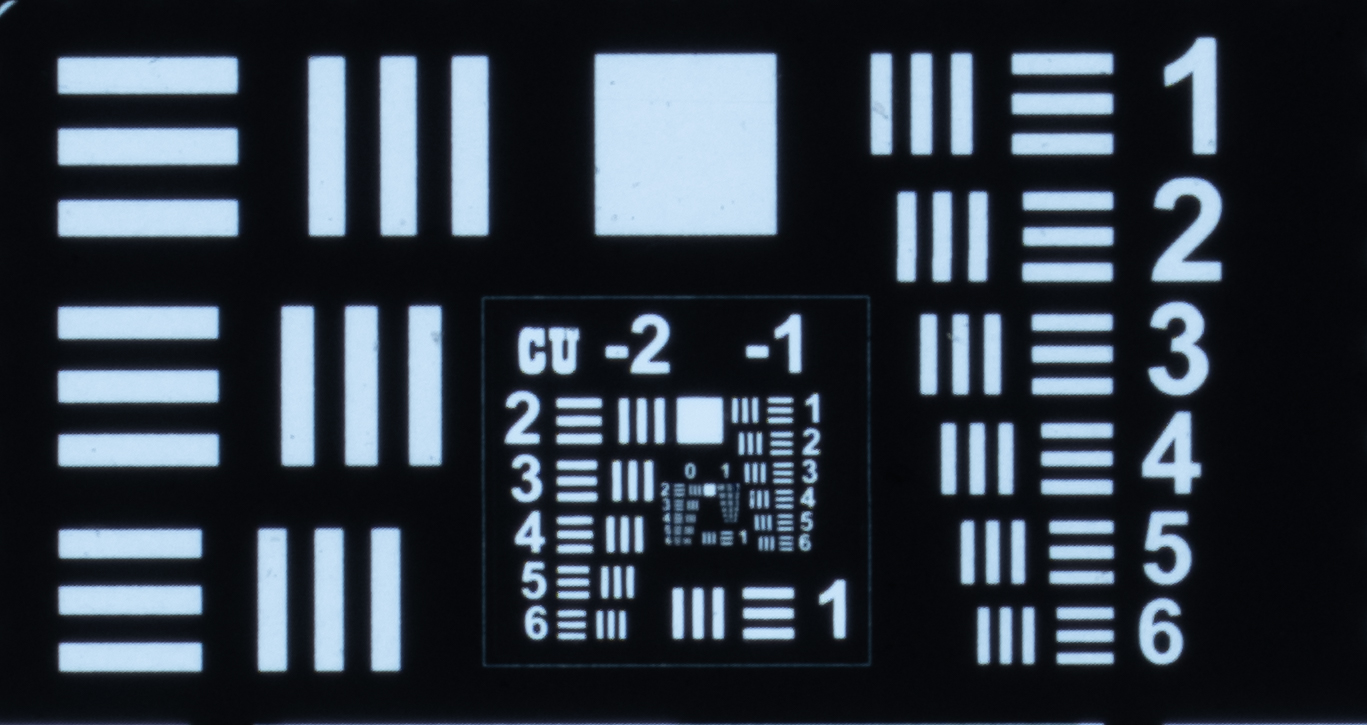
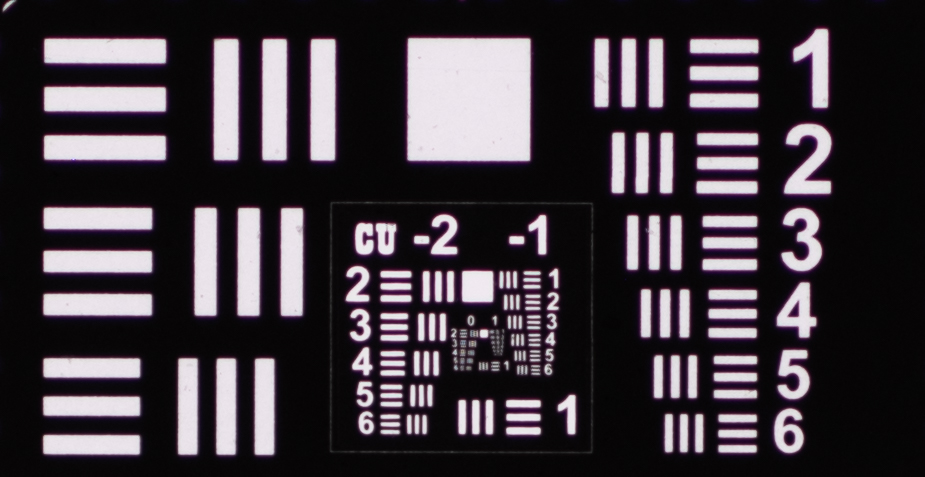
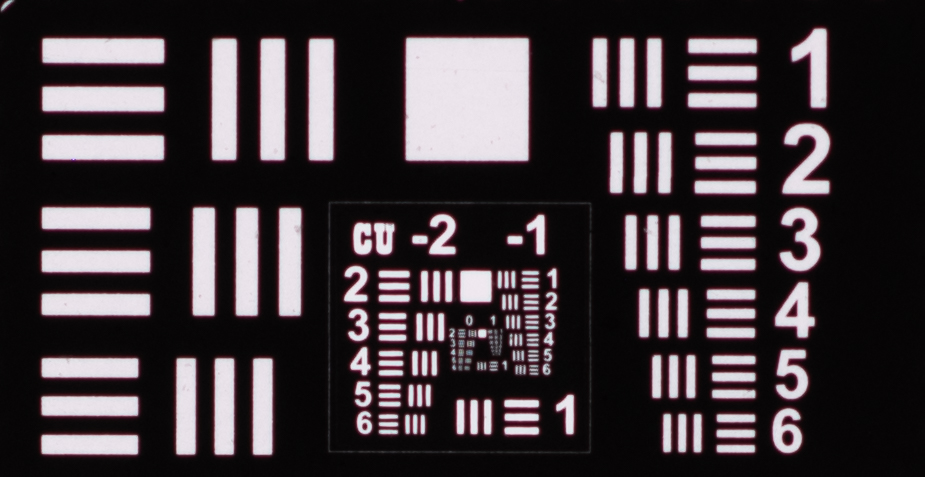
The Vlad's Test Target comes in many formats, but here I'll be using
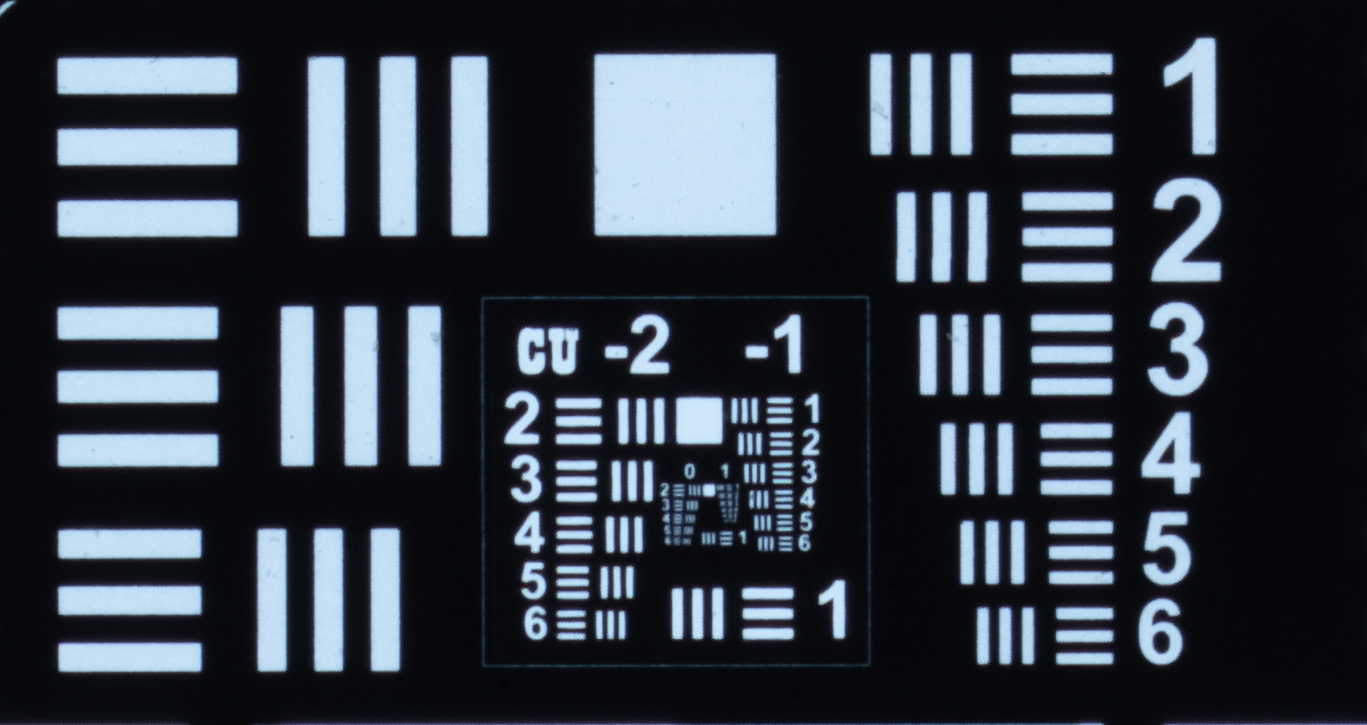
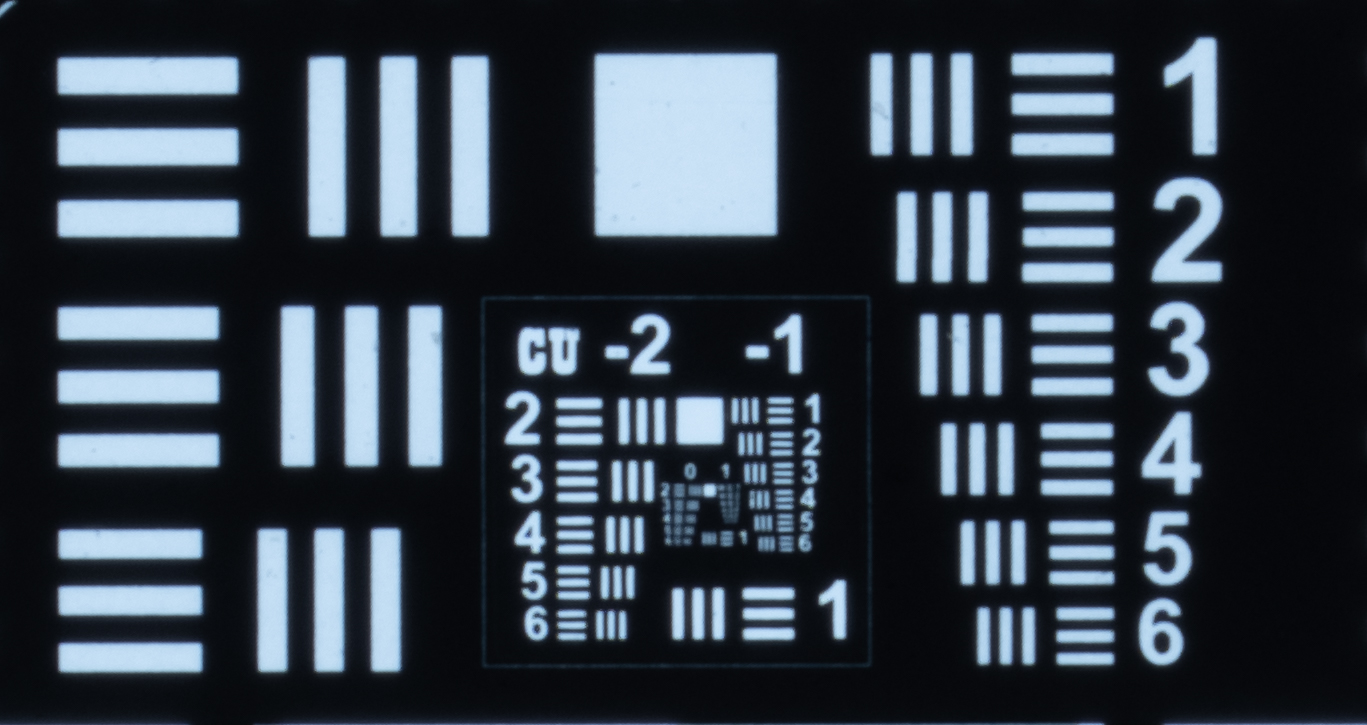
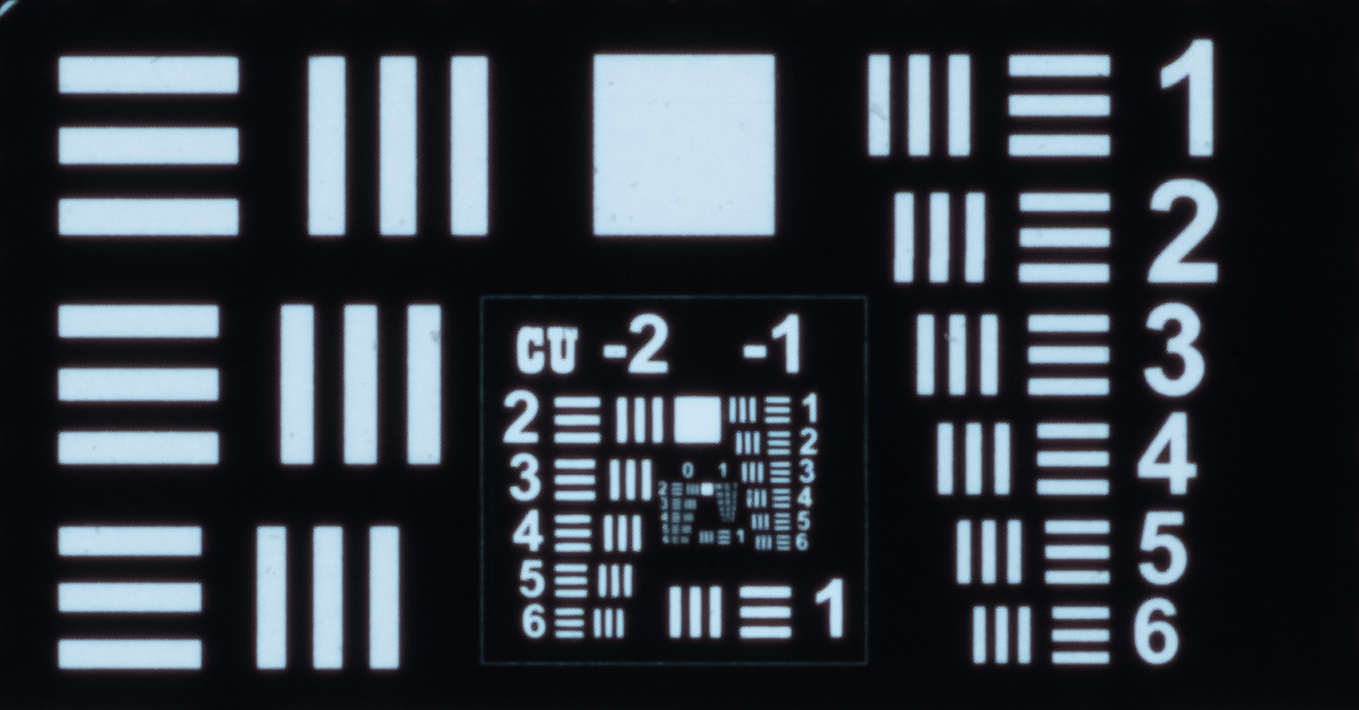
the 35mm strip target. This is 3 frames of the same test target imaged on Adox CMS 20 II film. This chart allows you to see how much
detail you are able to reproduce from a 35mm film scan in line pairs per mm (lp/mm). A line pair being defined as literally one black line
and one white line next to each other. For simplicity we will say that one line pair is equivalent to two pixels - i.e. one black and one white pixel.
This is somewhat controversial though and for good reason, but it is the easiest and simplest conversion so we will use it here. Later on I will try
to expand on why this may not be sufficient, but it will be the "standard" used here. The test target has a series of smaller and smaller sets of
3 line pairs with a label. These are set in such a way that we know exactly how many lp/mm they correspond to on the film. According to
their website: "The actual resolution of targets on 35 mm Adox CMS film is 110 line pairs per mm (lp/mm) or slightly better, confirmed via optical microscopy."
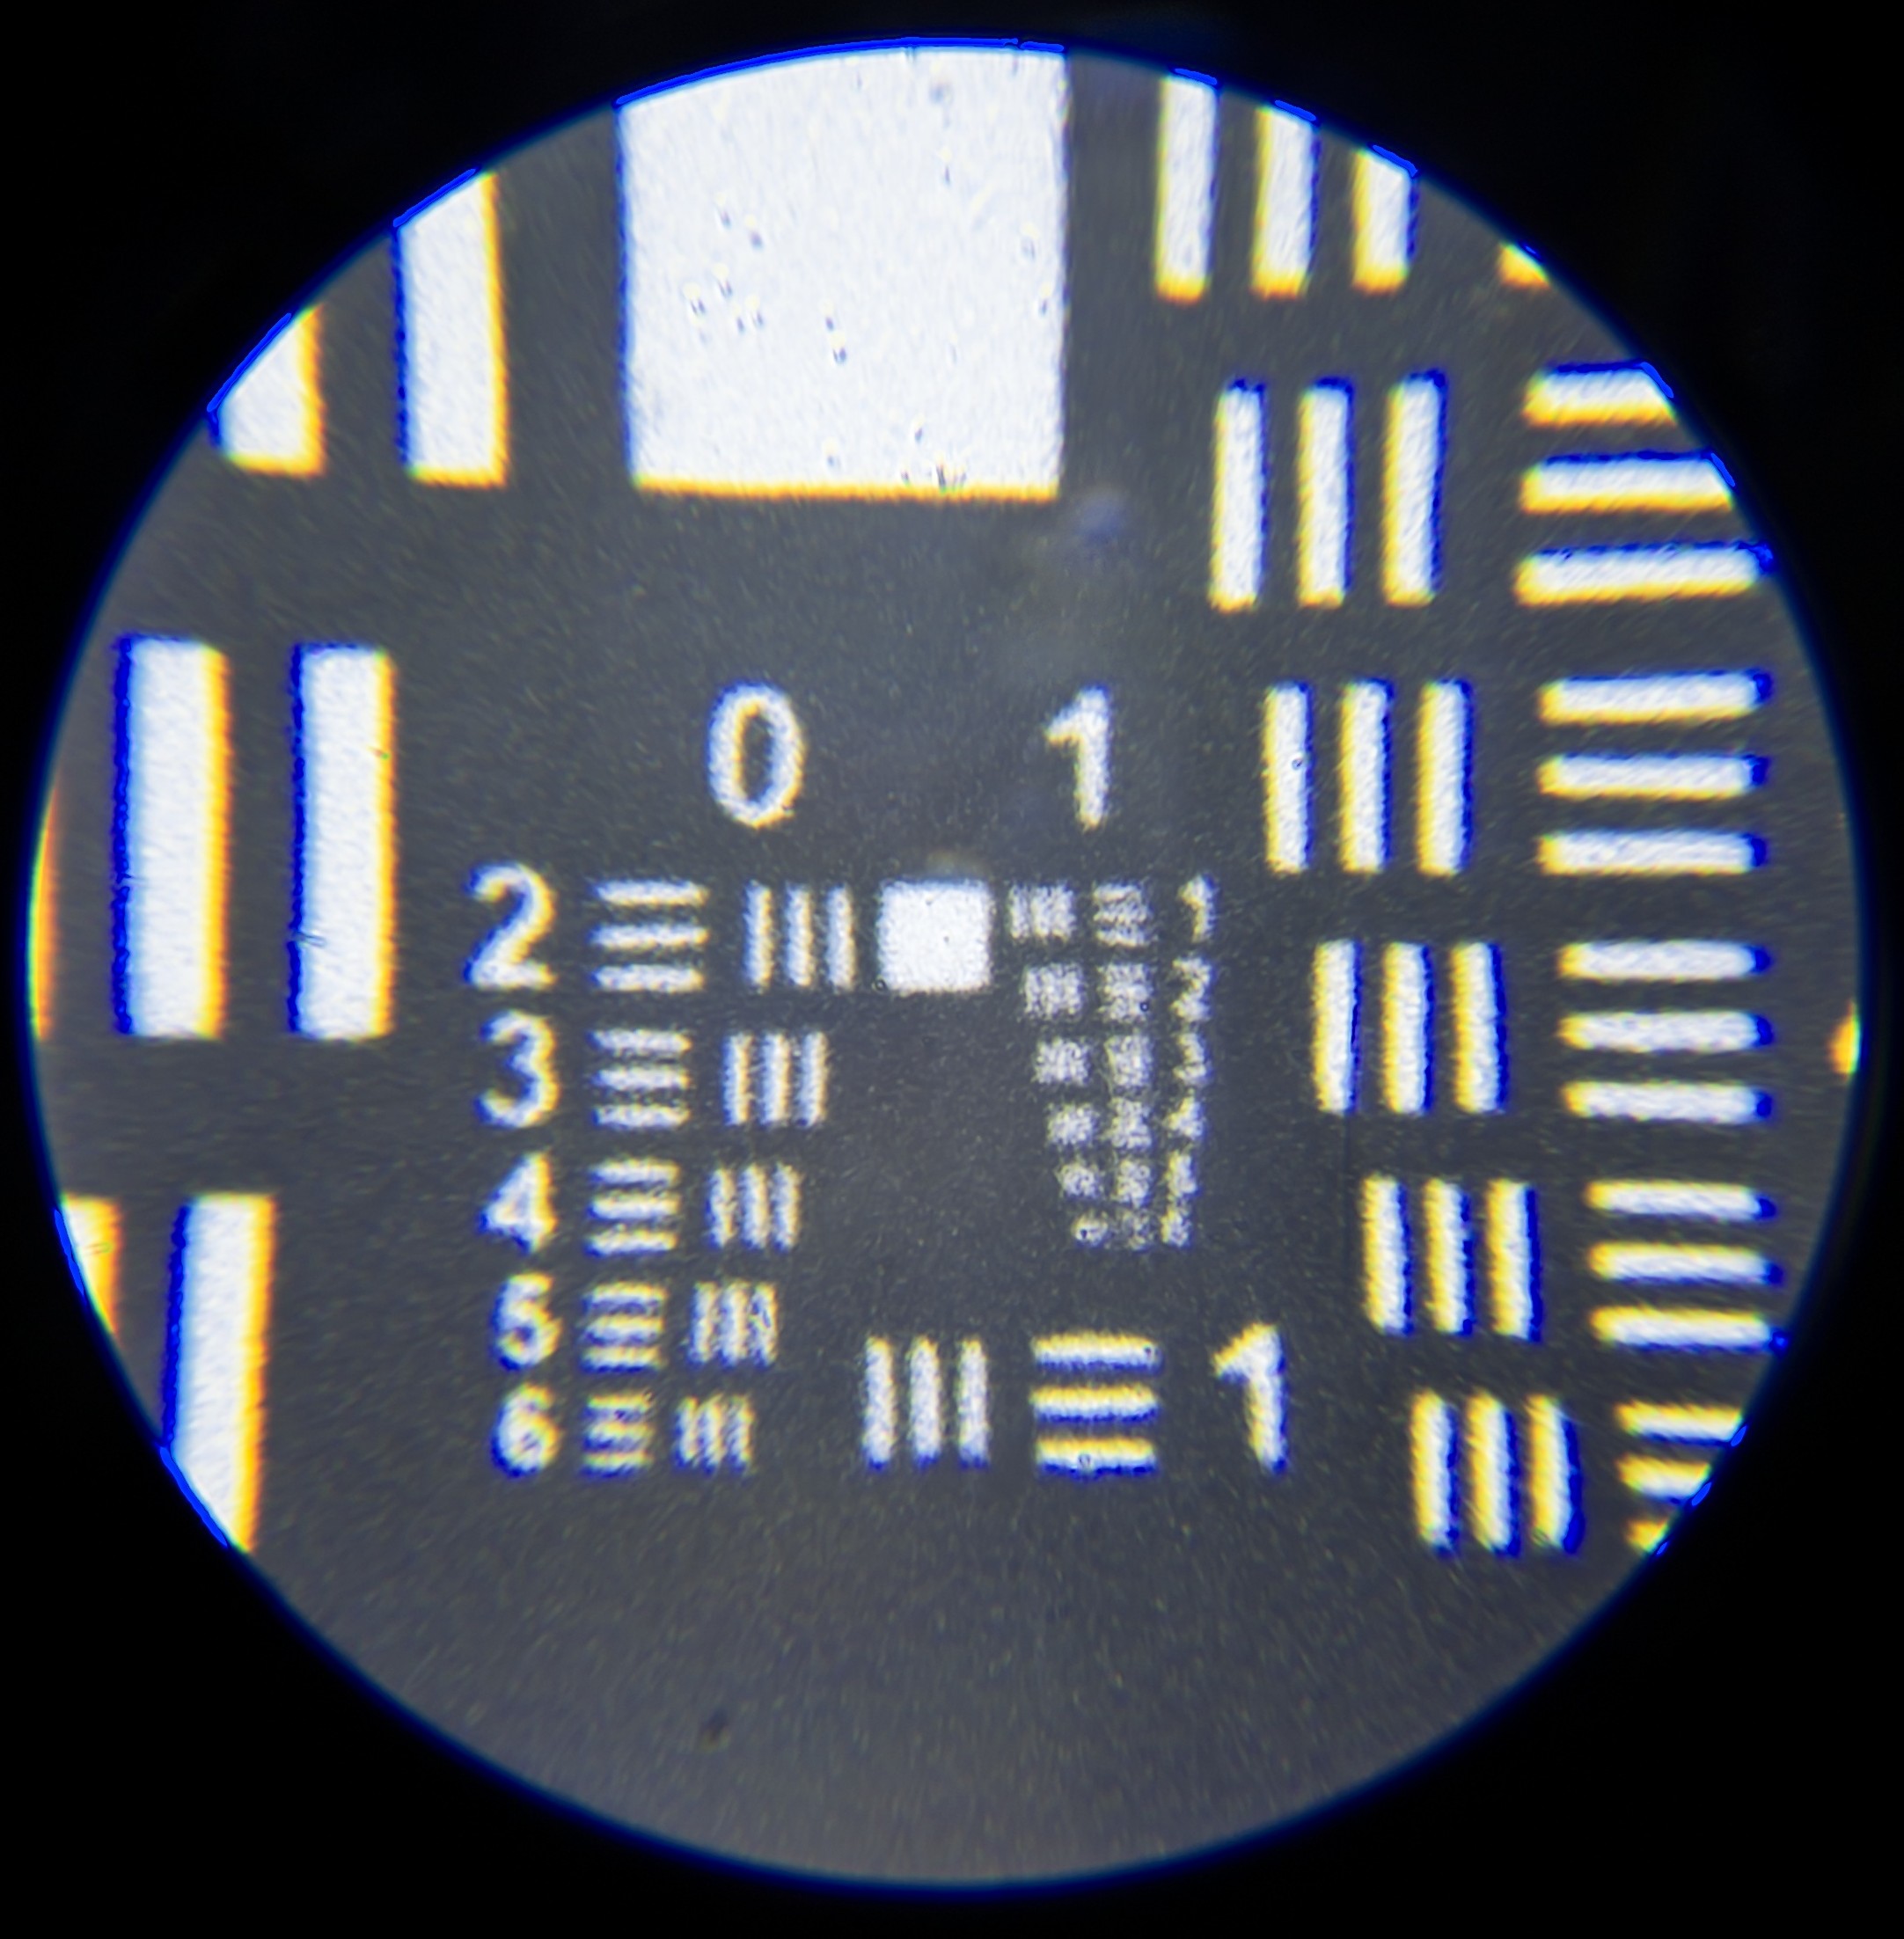
And I have confirmed via optical microscopy that my copy is at least good down to 123 or maybe even 138 lp/mm (albeit at fairly poor contrast).
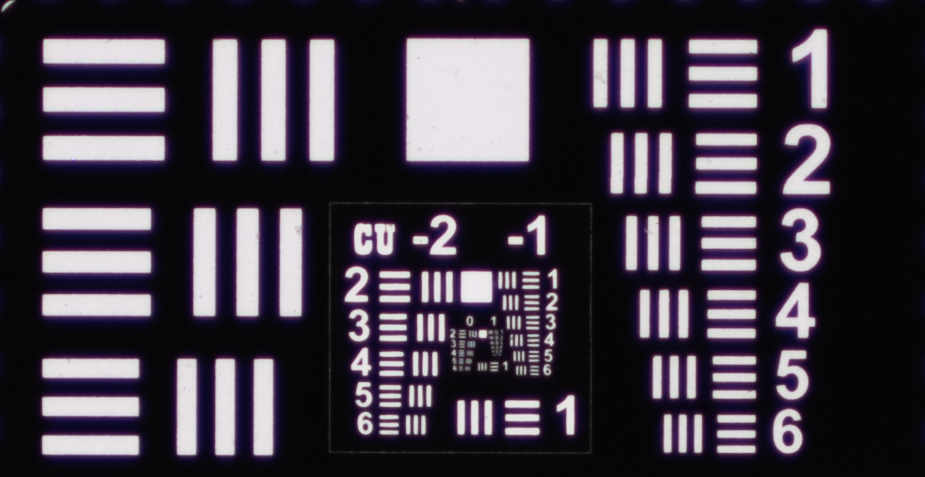
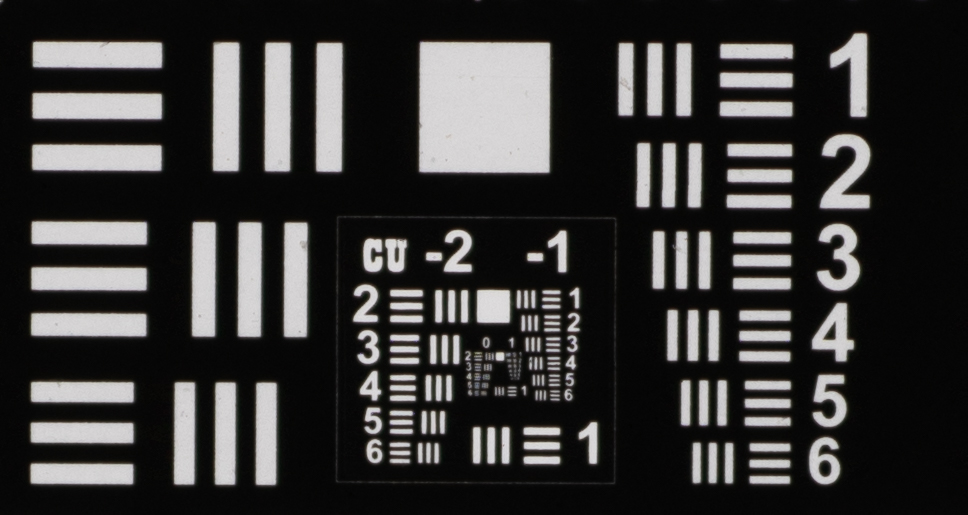
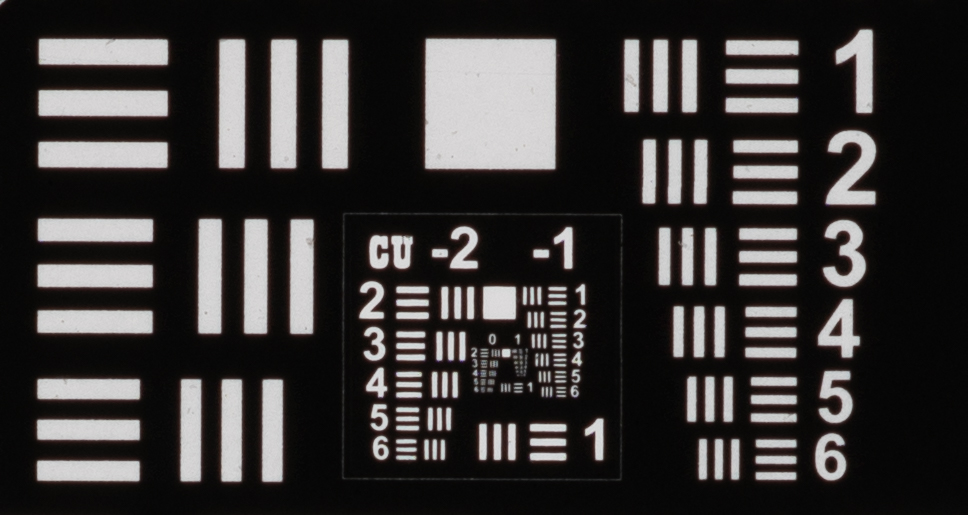
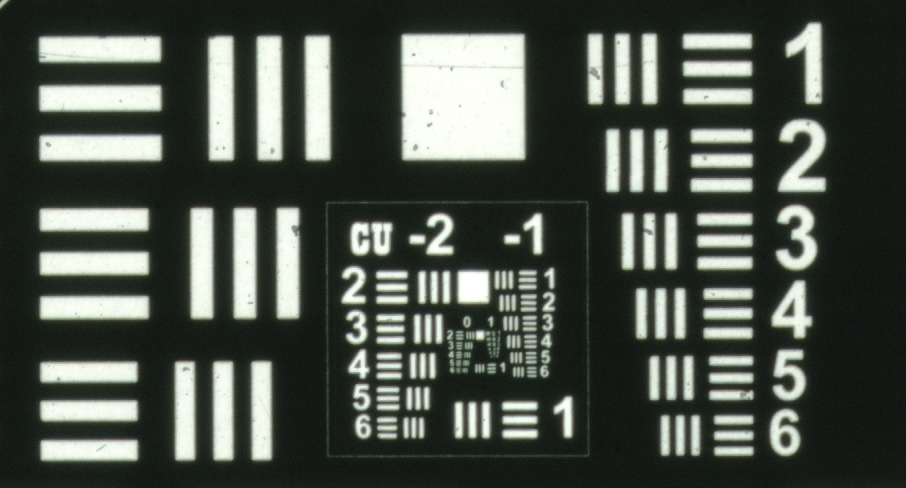
Phone photo through an optical microscope
In the above microscope image you can see the 3 line pairs pretty easily down to at least row number 2 under the 1 column. Even row 3 seems
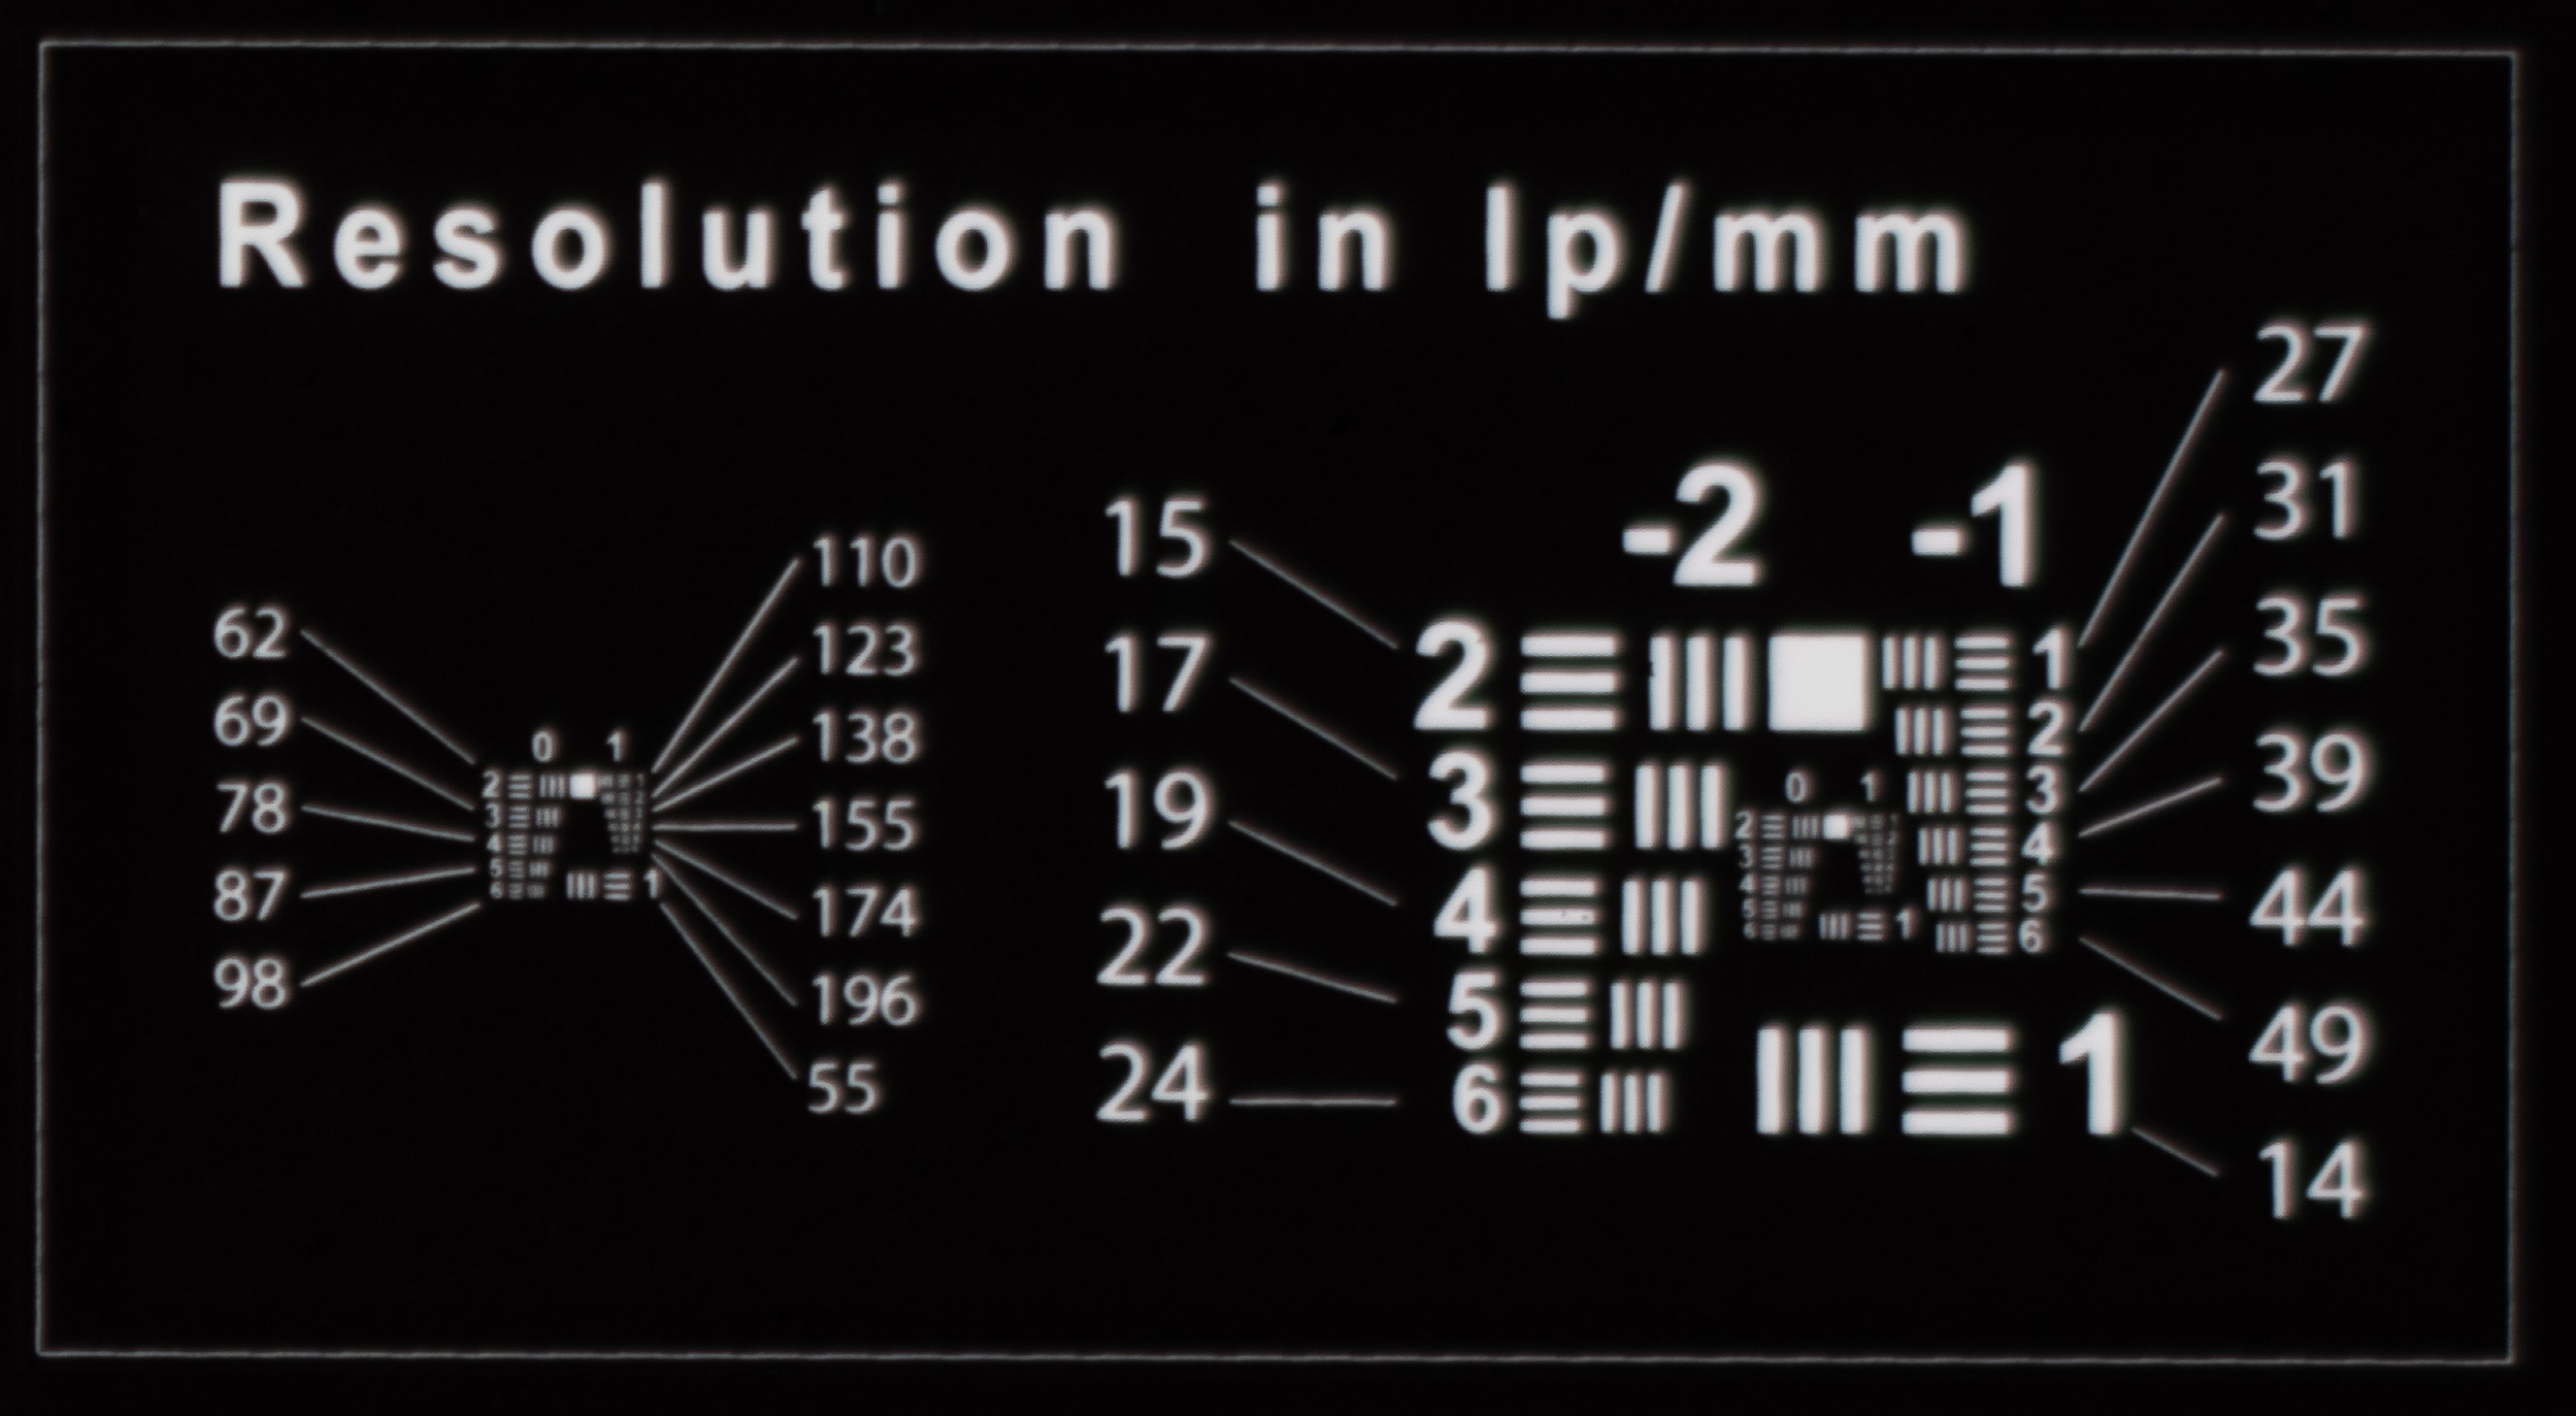
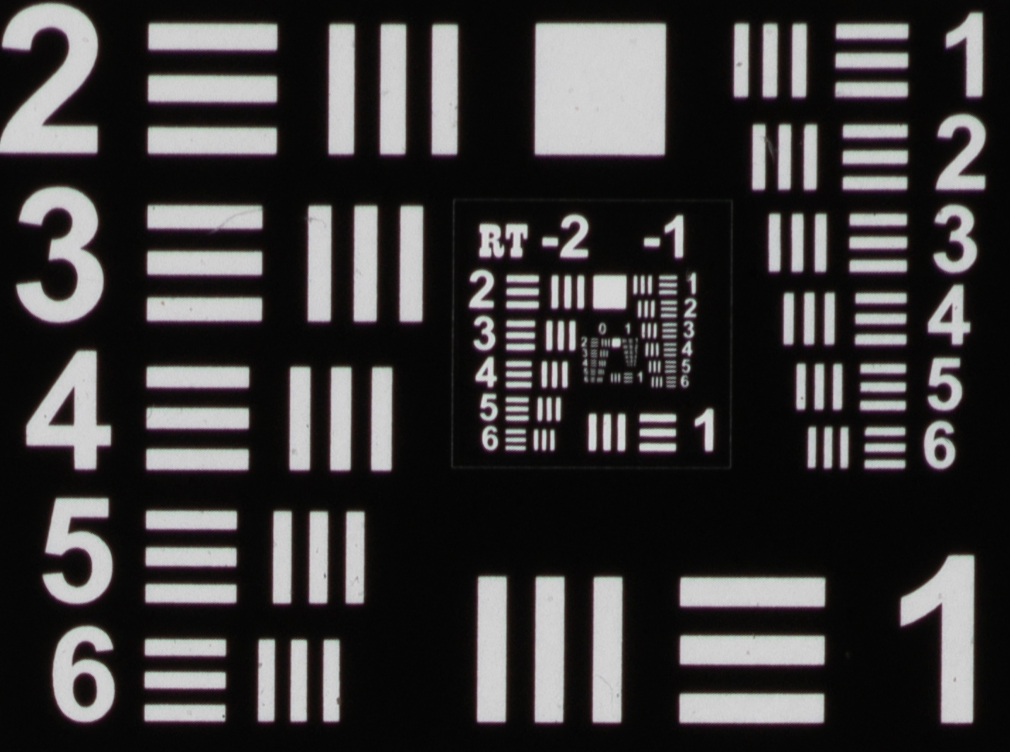
clear enough to see all 3 pairs. As can be seen in the handy diagram provided just to top right of the center of the chart, the 3rd row would
correspond to 138 lp/mm.
Lp/mm mapping diagram closeup
System Comparison
In the quest for the best scans, at least as far as reproduced resolution goes, I have aquired far
too many digital cameras and macro lenses, then proceeded to scan the Vlad's Test Target and be dismayed.
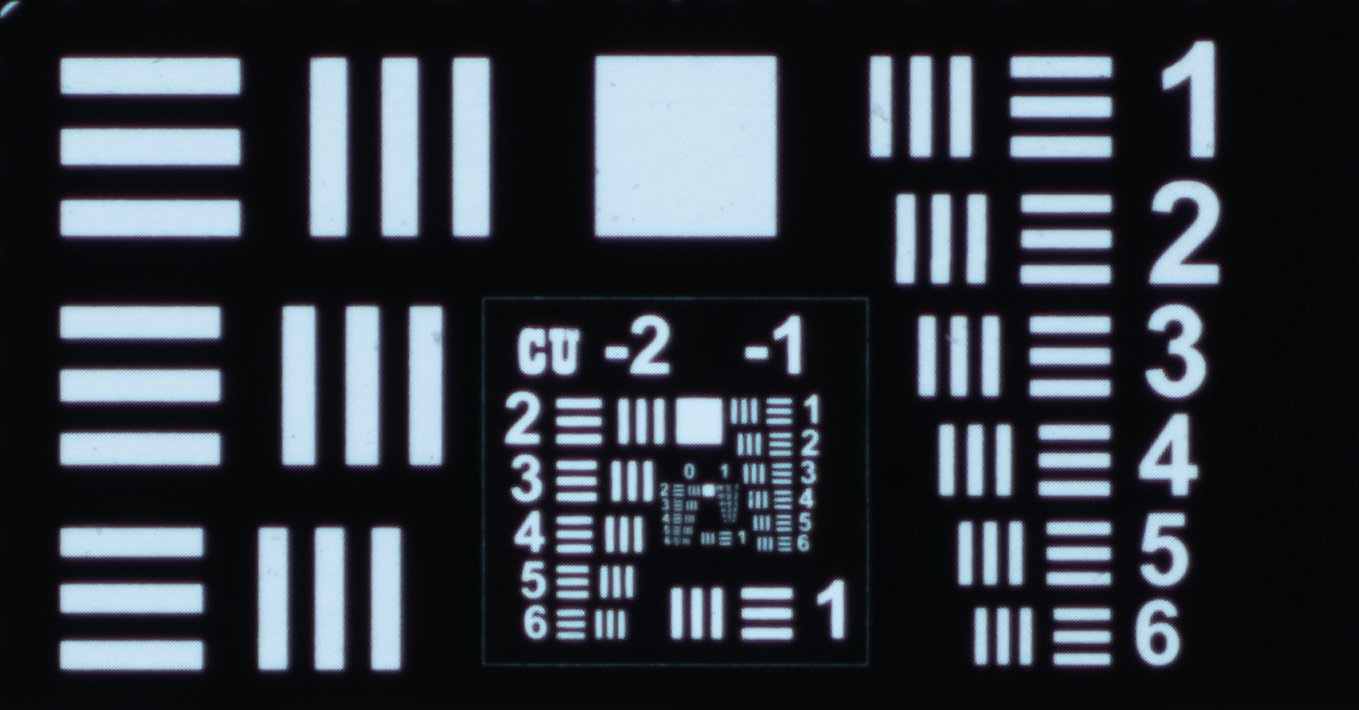
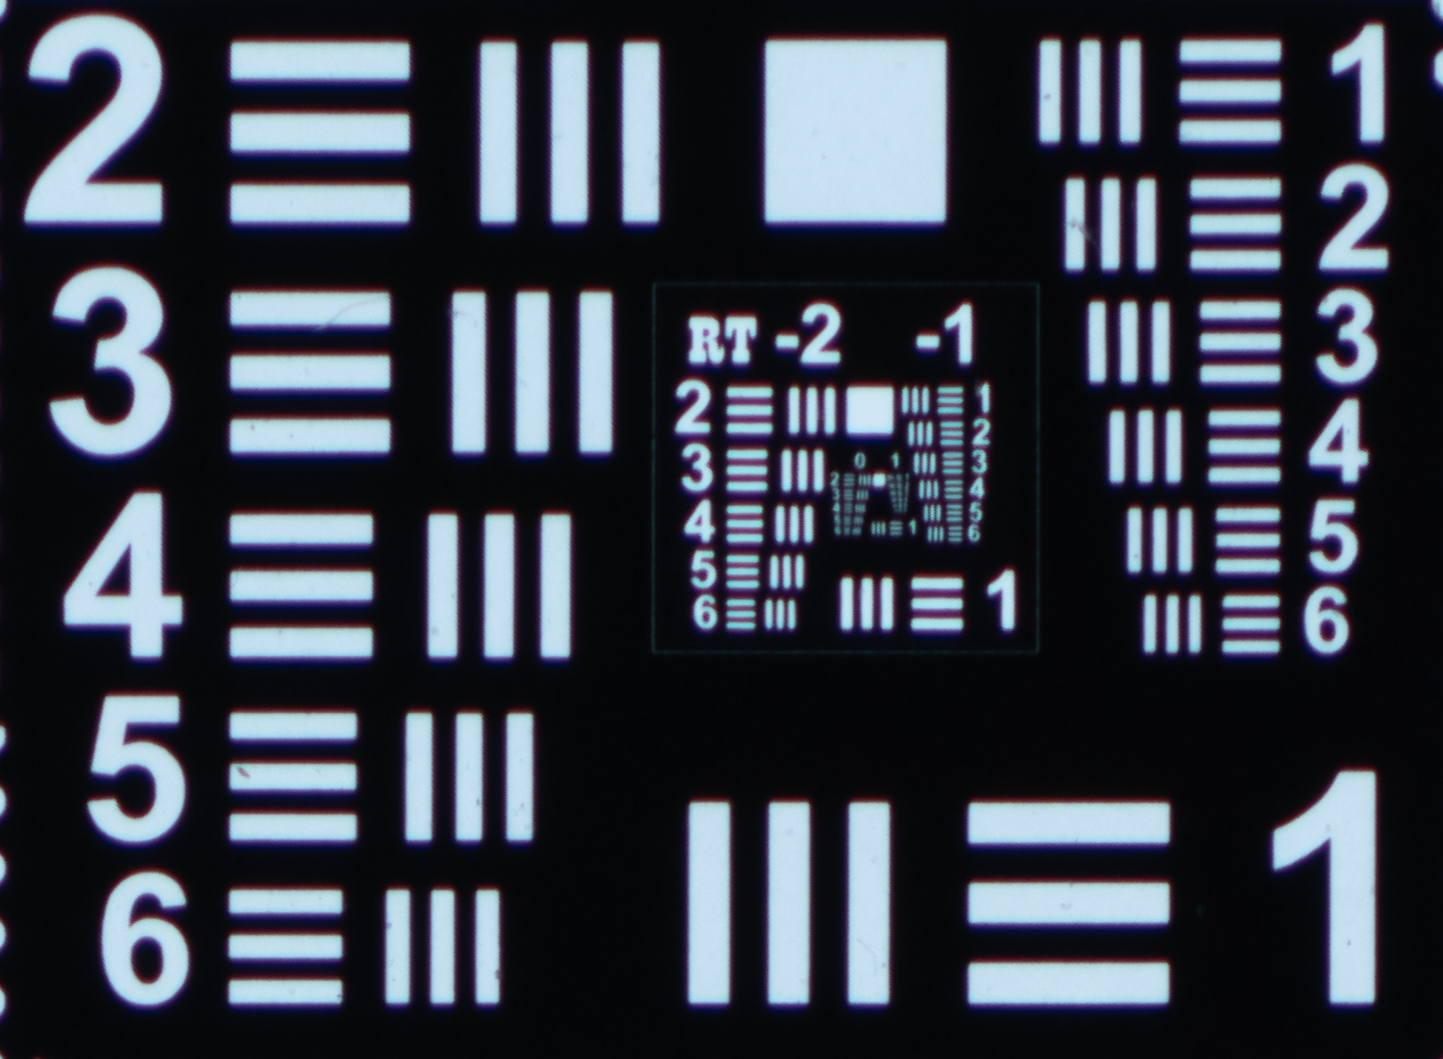
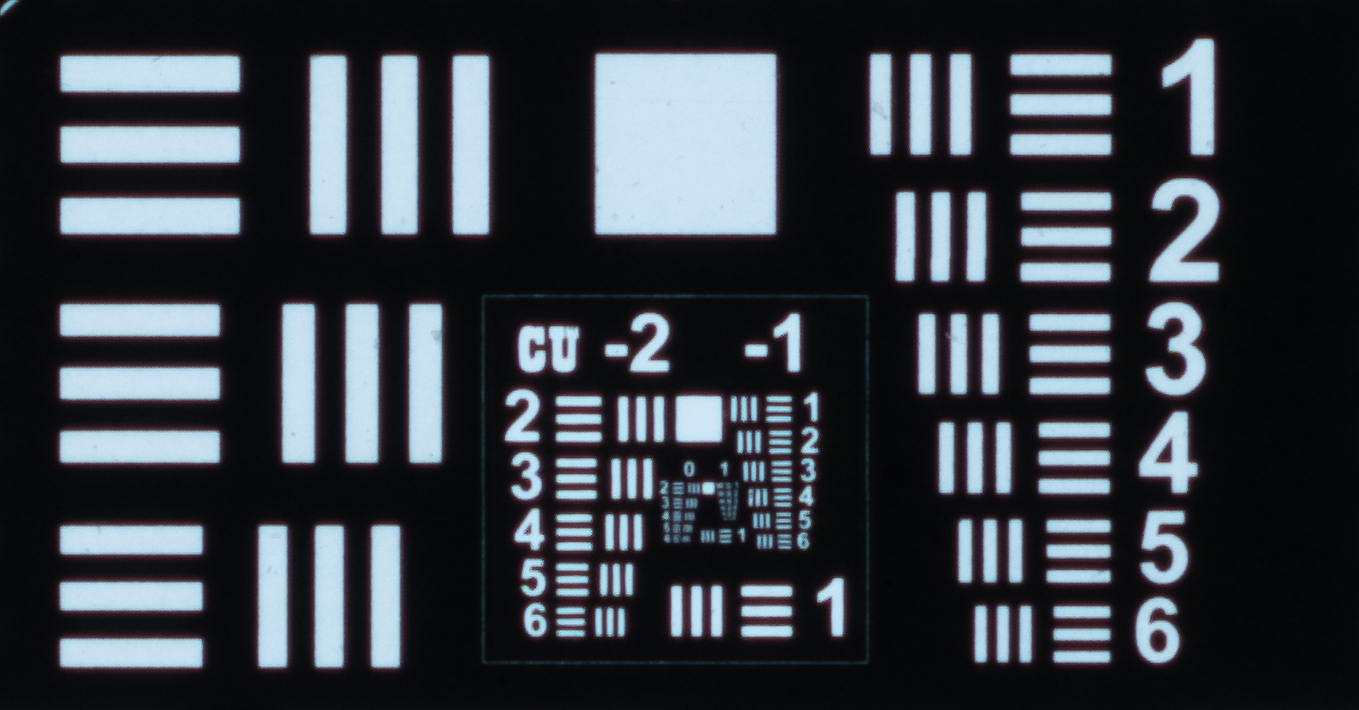
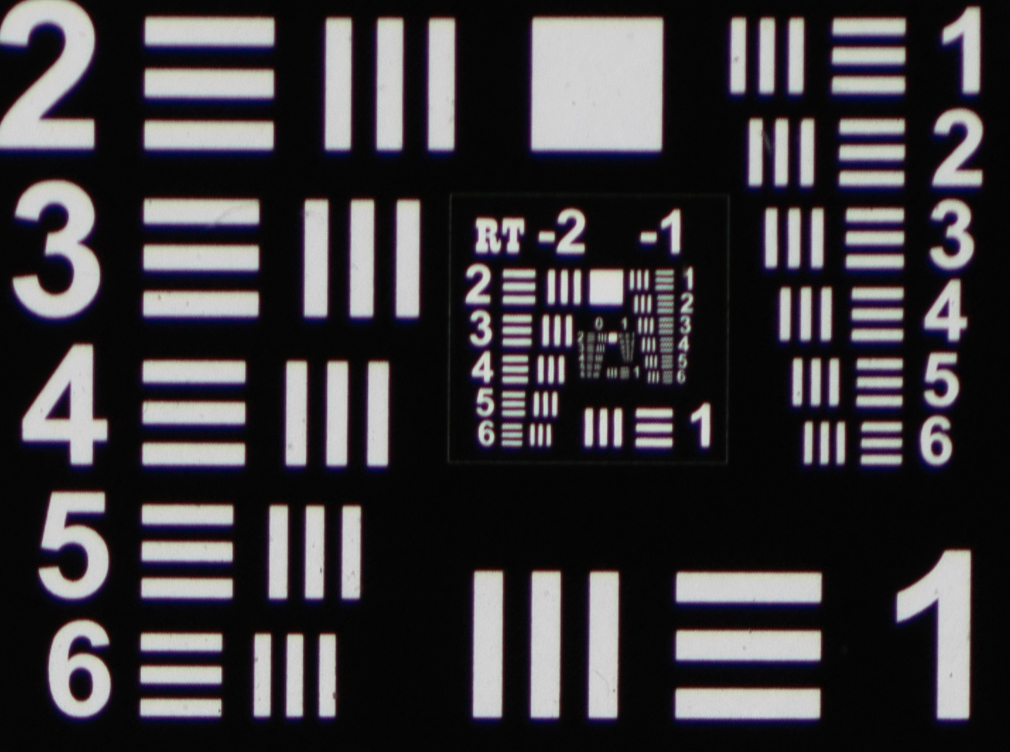
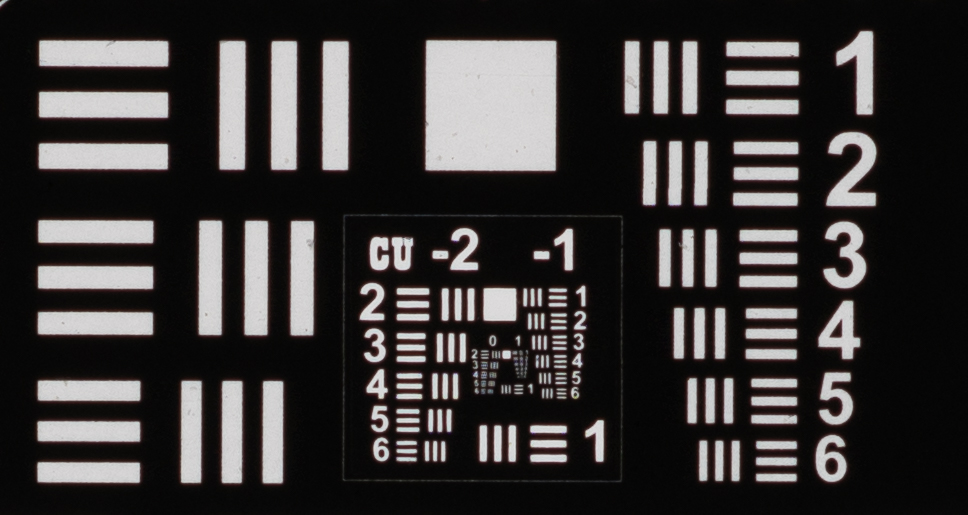
Here is an assortment of the scans with details of their respective system.
Note that the corner targets contain more of the larger pairs for some reason, so the crop appears larger. But the physical pairs
remain the same size for each given row/column.
OM-Systems OM-5
Olympus 60mm F2.8
Here we have my current "main" digital camera. The OM-Systems OM-5 Mk I with a first party Olympus 60mm F2.8 macro lens - a very well regarded macro for micro 4/3.
These are shot in the tripod high resolution mode giving an ~80 megapixel RAW.
Center F4
Corner F4
Center F5.6
Corner F5.6
Center F8
Corner F8
OM-Systems OM-5
Micro-Nikkor 60mm F2.8 AF-D
The same OM-5 Mk I as above at the same 80MP high resolution mode, but using a Micro-Nikkor 60mm F2.8 AF-D lens.
Center F4
Corner F4
Center F5.6
Corner F5.6
Center F8
Corner F8
Nikon D810
Micro-Nikkor 60mm F2.8 AF-D
Often considered the second best DSLR Nikon ever made right after the legendary D850, we have the Nikon D810. It features a 36.3 megapixel full frame
sensor. The low-pass/anti-aliasing filter was removed in the D810 vs the D800 supposedly allowing the D810 to capture extremely fine detail. Note
the somewhat odd minimum F-stop here... I'm not really sure why the D810 reports it this way, I believe it is compensating somehow for the lens extension?...
Center F4.8
Corner F4.8
Center F5.6
Corner F5.6
Center F8
Corner F8
Sony A7RII
Micro-Nikkor 60mm F2.8 AF-D
The Sony A7RII is very popular for film scanning and you'll see why below. It features a 42.4 megapixel full frame sensor in a mirrorless body
allowing for easily adapting cheap and high quality vintage macro lenses.
Center F4
Corner F4
Center F5.6
Corner F5.6
Center F8
Corner F8
Primefilm XE Super Edition
Camera scanning is all the rage, but what about a dedicated film scanner? I picked this one up for around ~$120 on eBay. It is punching
way above its price tag though! I would rate its scan almost as good as the Sony A7RII! Perhaps even overall better as the corner looks just
as clean as the center, though at a very slight loss in resolution vs the A7RII.
Center
Corner
Some Observations
OM-5
Well, the performance here is worse than I expected. I suppose it'd be easy to blame this on it being micro four-thirds. But size doesn't matter,
does it? I mean in high resolution mode we are getting 80 megapixels! Maybe it's that high resolution mode doesn't really work or at least doesn't
give an actual 80 megapixel result?
Well, perhaps that last bit is partially true, but that is a test for a different article. So what do I think is the main problem here? I showed results
from both a first party well-regarded Olympus macro lens as well as the venerable Nikkor full frame macro - and the results are pretty much the same. So
I feel it's fair to conclude the issue is not the lens. So what do I think it is? Unfortunately, size matters.
The first thing to understand is with a micro four-thirds sized sensor we are actually wanting the lens to give a half sized rendition of the subject.
That is to say, the sensor is almost exactly half as wide as a 35mm frame of film. So in order to more or less fill the frame of the sensor with the frame
of the film, it must be half the size it is in real life. For the test chart then, that means that the line pairs are now twice as small as they originally were.
So if the column 0 row 4 line pairs correlated to 78 line pairs on the film, then they are actually showing up as 156 line pairs on the sensor! This is the first
problem and why size matters as you need more pixels per mm and a better sensor quality in order to properly render the double as dense details, if that makes sense.
But, with that being said, the OM-5 in high resolution mode is getting ~600 pixels per mm. With the two pixels per line pair conversion we discussed at the beginning,
that translates to 300 line pairs! So we should be fine then, right?
Finally, that brings us to science. I think a large contributing factor is that we are hitting or getting very close to the diffraction limit.
What is the diffraction limit? Well for that I'll point you to people who actually know what they are talking about -
Edmund Optics Diffraction Limit.
But to simplify things greatly, the smaller the hole you are trying to look through (aperture), the less details you'll be able to see. And when we are trying to duplicate
every detail captured on the film, that becomes fairly important. If you are used to shooting 35mm film or even larger, or say full frame digital, then you probably haven't
really needed to worry about diffraction limits as they generally don't kick in until f/11 at least, or at least aren't playing a major role.
But this is where size matters - pixel size anyway. As calculated earlier, in high resolution mode the OM-5 is capturing around 300 lp/mm. Which is
incredible, except it also means that to actually hit that 80 megapixel image, the lens needs to be capable of rendering 300 lp/mm. And on top of that, the diffraction
limit needs to be over 300 lp/mm. If you use my handy-dandy calculator I wrote, you'll find that for a reasonable contrast
of 20%, the smallest aperture you can get over 300 lp/mm is... f4. Any smaller than that and you phyiscally cannot be getting 80 megapixels of data from the lens.
But ok - at f5.6 for example the limit for 20% is around 230 lp/mm. Then accounting for the halving of the image size, that should mean we could still see up to 115 lp/mm on the
test chart at f5.6. But we don't, instead I'd say at f5.6 we are seeing (in column 0) row 4 fairly well and maybe row 5 - so at best 87 lp/mm.
But why? I think it just comes down to that limit being fuzzy and really you need more than 20% contrast to actually be able to discern the lines. This is on top of the previously
mentioned debate of whether or not claiming two pixels equals one line pair is really accurate. Simplifying a bunch, in order for two pixels to properly represent one line pair,
the pixels would need to just so happen to line up perfectly with the lines, right? If they don't, then the pixels will see a little bit of the other line. This is hard to
explain without good visuals, but suffice to say that it isn't perfect, so if we are seeing 87 lp/mm out of a possible 115 lp/mm that's about 75% which is pretty good.
I will further point to this as being the main issue here because in the f4 scan (at least with the Olympus 60mm lens in the center crop) I think it is quite clear that the lines
on row 5 become more visible. If you look at row 5 going from f8 down to f5.6 and then f4, I think it is obvious that they are getting clearer to see. This to me is the
most damning evidence that it is indeed diffraction that is the limiting factor here.
Well, that was a bit of a rant. It sets the stage a bit for other observations though, so the rest should be more brief.
Nikon D810
There's a few weird things going on here, I think. But the results are not up to what I was hoping they'd be. For one thing you'll notice the minimum aperture is f4.8, which
is definitely not a standard number. I'm not really sure what is going on here - the camera is controlling the aperture here, I'm not phyiscally moving the aperture dial on the lens.
I was setting it via a control dial and f4.8 was literally as wide as it would go, for some reaosn. This is a first party lens for the system though, so I'm guessing it is talking
to the lens somehow and... somehow that is limiting it. There is certainly something going on here I am not understanding.
But besides that issue, one of the more obvious issues with this system is that there is color fringing going on fairly aggressively. Better by f8, but still there. The odd part is
that this seems to be an issue with the D810 specifically? There's maybe a little bit at say f4 in both the OM-5 and A7RII scans, but... very minimal if at all. This type of
fringing would normally be blamed on chromatic aberations, I'd say, but those should be inherent to the lens, which this clearly isn't. My only guess is there is some kind off issue or
interaction with the sensor glass/filters. Whatever the reason, this will add some issues to scans. At F8 it isn't so bad though, so maybe it'd be ok.
Finally the last issue is... it just isn't as good as you'd expect? It is very close to the same resolution sensor as the A7RII and only about a year older. Yet I'd say the A7RII is
easily outperforming it. The scan is just kind of blurry, despite still resolving only ~1-2 rows lower than the A7RII, they just aren't as crisp even if you can tell the pairs apart.
This shouldn't be an issue of diffraction limits as with the OM-5 - for a full frame camera there is no multiplication factor for the line pairs and even at f8 the limit would be ~165 lp/mm,
way above what we are seeing.
The other thing here is it's just not a very pleasant camera to scan with. It is heavy so you'll need a beefy copy stand and while it does autofocus with this lens if you have it in
liveview mode so that you can easily see what is going on it is slow and I think inaccurate. If not in liveview I think it'd be much faster and probably more accurate, but then you'd need to
lock the focus and switch to liveview so you can position the film correctly... yeah not great. I manually focused for this reason and while you can zoom in on liveview there is no focus helpers
like focus peaking for instance, which makes this process way easier on the OM-5 or A7RII. It is possible that due to this I missed focus just slightly which is causing the poor performance...
but I digress. I can't really recommend this camera if you are looking to buy something specifically for scanning, but if you have one already you might can dial in a process which will work.
A7RII
Performance wise there's not really much to say, it is very good and pretty handily the best results here, in my opinion. At 42.2 MP it has a pixel density of ~222 pixels per mm so should
be capable of resolving up to 111 lp/mm. With row 5 easily visible, I'd say looking at the RAW file row 6 is very close, but I'd say not quite there. I'd rate it at ~90 lp/mm,
It is also one of the most convenient to use. Though the OM-5 with its autofocus lens is defintiely convenient, but this could be fixed by buying an autofocus lens for the Sony. The main advantages
it has here are the focus peaking and zoom being very good, so nailing focus is pretty easy even manually and the RMT-DSLR2 remote that you can use with the Sony is incredibly convenient, even allowing
for menu navigation. It also of course captures the full 42.4 MP in one go, whereas the high resolution mode on the OM-5 needs time to take multiple images (though this is very fast) but also processes
the image into the combined file which takes several seconds. Being able to just slide the film and snap a scan in quick succession is definitely convenient.
Primefilm XE Super Edition
If I was starting scanning at home over again, this is what I'd buy. It cost less than the lens most anyone would put on their camera scanning setup, much less all
the other equipment needed. To be clear, I am talking used on eBay. But also to be fair, the typical recommendations for camera scanning are used vintage macros like this Nikkor 60mm AF-D f2.8 I've
been using for the most part in these tests. And the performance is nearly as good as the A7RII, at least in terms of the row visible (row 5 is definitely distinguishable), though
much like the D810 I'd say it's sort of... soft? But not bad, just not quite as crispy as the A7RII, I think. And this is edge to edge, there is no distortion here from the lens which
is a big win for the dedicated scanner. My results also pretty much match the results found by filmscanner.info (note that
Primefilm is the brand name for North America whereas they were sold as Reflecta brand in Europe), so I'd say they are accurate.
Now everything must come with downsides... and speed is definitely the main one, plus just being a bit unpleasant overall. The Primefilm XEs uses a 6 frame film strip holder. So you must cut your film
down to strips before you can scan - luckily 6 frames is perfect for the standard 6x6 sleeve sheet, which is nice. But loading the film into the holder just right so that the top and bottom aren't cut off
and all 6 frames aren't cut off by the dividing pieces... yeah, not very easy. And if your camera doesn't space the frames out evenly you're just kind of out of luck. The big kicker though is the time it takes
to scan. Scanning at 5000 dpi (gives the best quality, 10000 doesn't improve) with ICE dust removal (called MagicTouch) it takes 3 minutes 40 seconds to scan a single frame. So you are looking at about 2.5 hours
to scan a full 36 exp roll. But, you can do whatever you want for most of this time, unlike with camera scanning. Though I will warn it is not a quiet process, so you may want headphones.
The software is also a double edged sword. On one hand you can download the CyberViewX software and use it for free with your scanner and it can give both a "raw" TIFF file for use in third party inversion
tools or it can invert directly needing no other paid tools. Which is great, but the CyberViewX software leaves a lot to be desired. It's usable, but I find making adjustments to get a good image are
very difficult. However, setting it up to scan as a positive with no automatic corrections (except dust removal via ICE) and using something like Negative Lab Pro to invert is great! Albeit at fairly large file sizes.
You can also use it with VueScan or SilverFast which are better to use, though still not the most modern looking tools. But these add quite a bit of expense.
Having the option to just use the manufacturer's software and spit out good JPEGs without paying a subscription or big lump sum for software though is definitely a win here. I'm sure if you were only using
this scanner as your scanning tool you'd figure out a workflow pretty easily. Like I said, if I was starting from scratch, this is the route I'd go!
Lens Tests
Since the A7RII is the "winner", I'll use it for comparing lenses which can be adapted to it. This section will hopefully grow as I either aquire (and replace!) lenses over time or barrow ones to add to the test.